
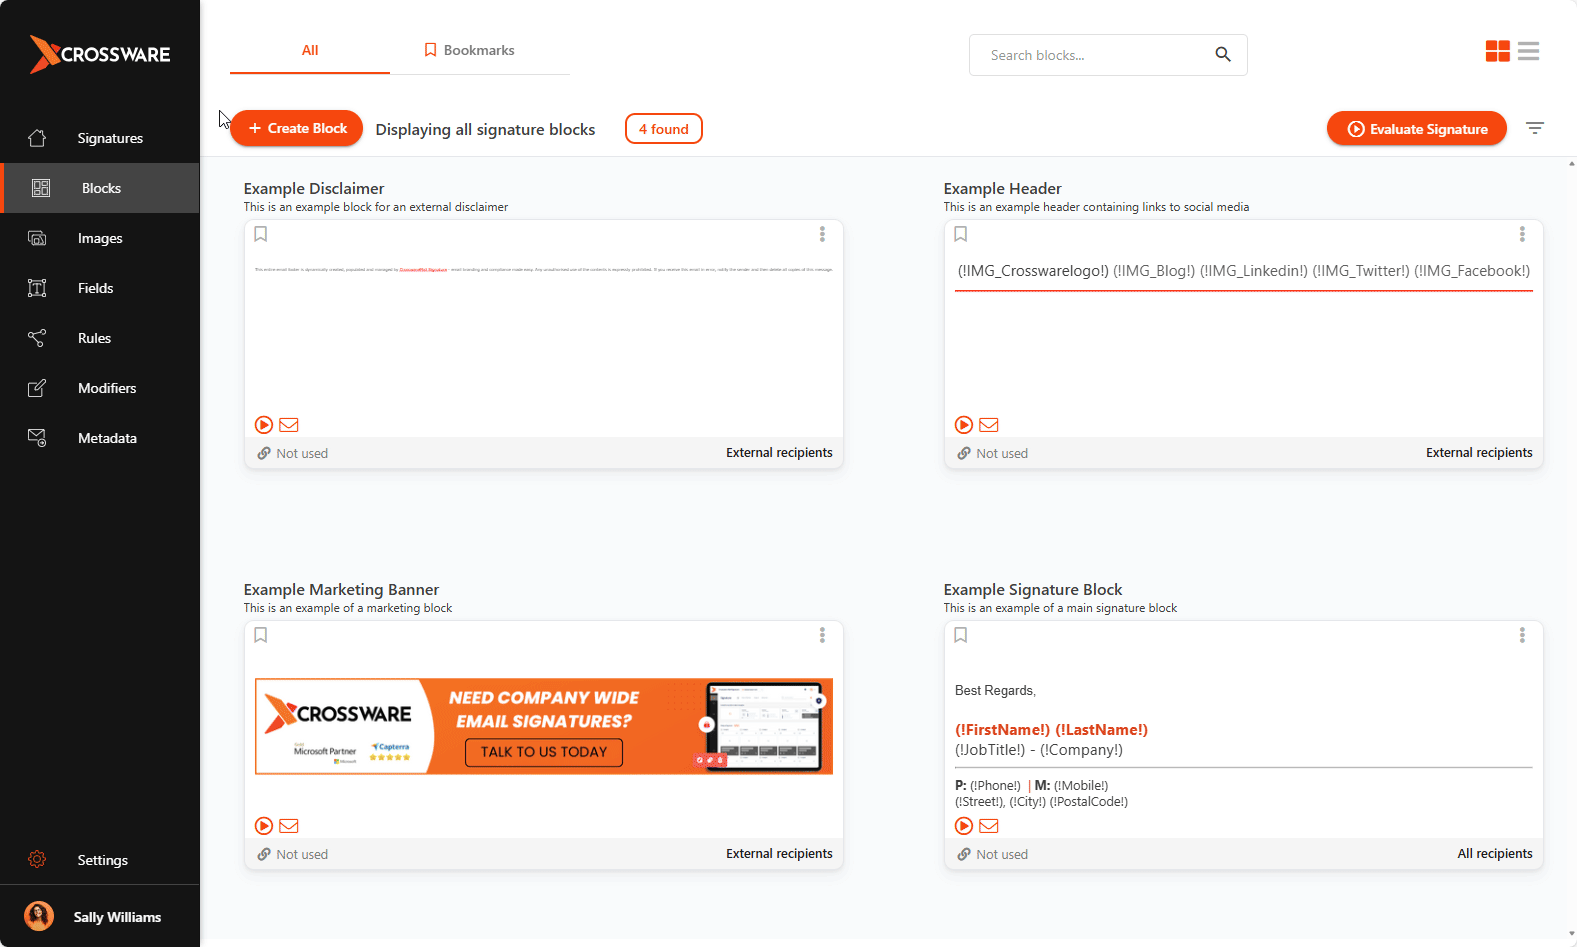
A Signature Block is a piece of your signature, such as an ad banner, disclaimer or address, which can be controlled separately from the rest of the signature. Signature Blocks are usually set up to ensure that these pieces only appear to certain email recipients, e.g. a disclaimer that only those external to your company can see.
You to retain full control of Signature Blocks by applying rules (simple, or advanced using C#) to customise when they are added as part of your signature.
You can create and apply an unlimited number of Signature Blocks.

Example Scenario
You might:
-
Use a company-wide block that contains personalised user information.
-
Attach a division-specific block with the correct logo, address, and contact details.
-
Add a company-wide disclaimer block at the bottom of every email.
In this setup, the signature is made up of multiple smaller blocks, each controlled independently.
Conditional Signature Blocks
Signature Blocks can be configured with conditions to determine when they should appear:
-
Internal or external emails. For example, you could show one version to colleagues within your organisation and another to external recipients.
-
Rule-based or scripted logic. You can use rules or C# scripts to decide which block is applied, for instance selecting a block based on department.
Reusability
Signature Blocks can be reused across multiple signature configurations. This allows you to maintain a consistent design, such as a company disclaimer or banner, without needing to duplicate effort in every signature.
Flexibility
You have full control over:
-
Who sees each block
-
When it appears
-
How it combines with other blocks
This flexibility ensures your organisation can deliver the right branding, legal text, and personalised information in every email.
Create a Signature Block
-
In the left menu, click Blocks.
-
Select Create block.
-
Give your block a Name and (optional) Description.
-
Design your block:
-
Switch to HTML view using the
</>button. -
Add directory fields (e.g., name, job title) by clicking Fields and dragging them into place.
-
Add images by clicking Images. Drag in an existing image or upload a new one via Manage images.
-
Add and format text using the toolbar.
-
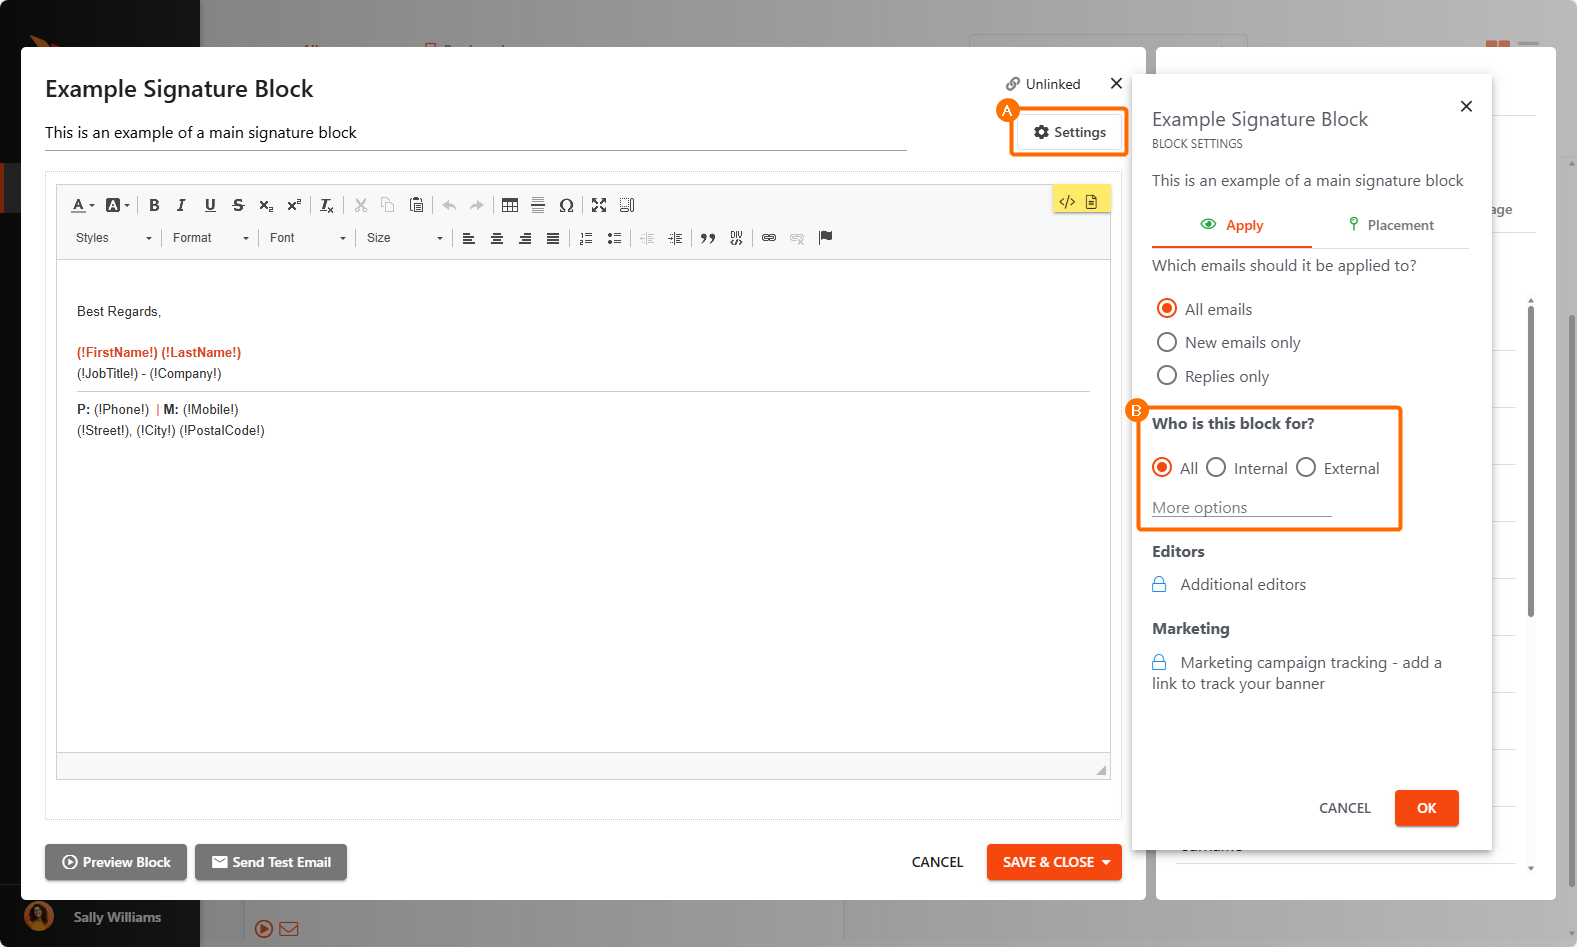
Choose Who Sees Your Block
When editing, Click Settings, look for Who is this block for? and select:
-
All recipients – shows for everyone.
-
Internal recipients – shows if at least one recipient is inside your organisation.
-
External recipients – shows if at least one recipient is outside your organisation.
-
Rule – shows only if a specific condition is met.
-
Member / Not member of group – shows depending on the sender’s group membership.
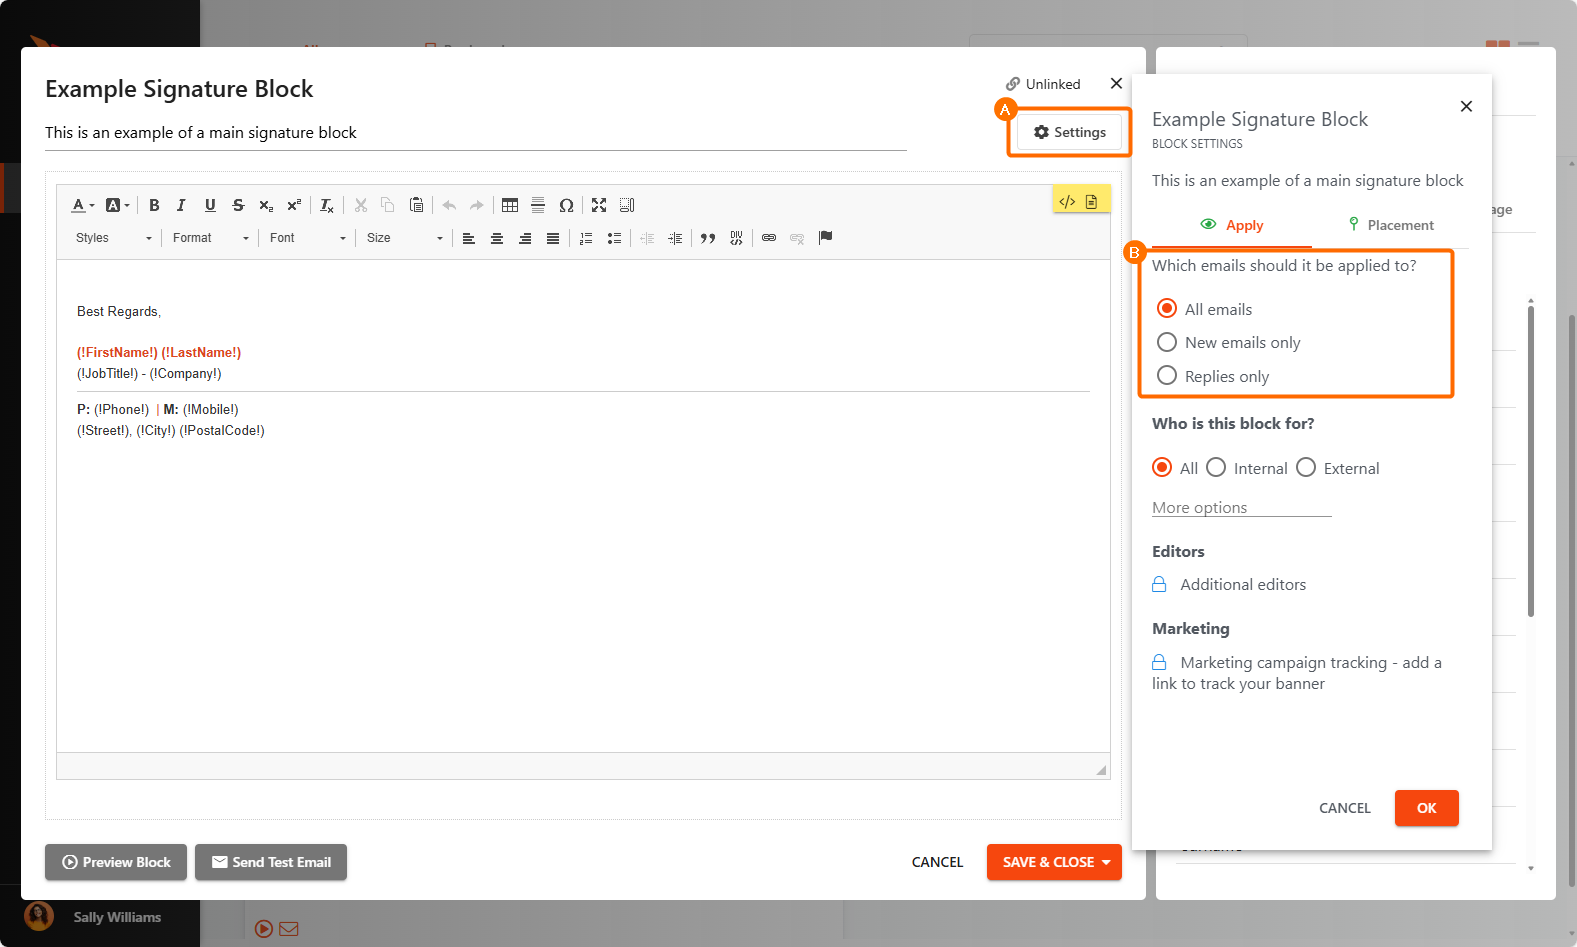
Choose When the Block Appears
When editing, Click Settings, look for Which emails should it be applied to? and select:
-
All emails – appears in every email sent.
-
New emails only – appears only in brand-new messages.
-
Replies only – appears only in replies or forwarded messages.
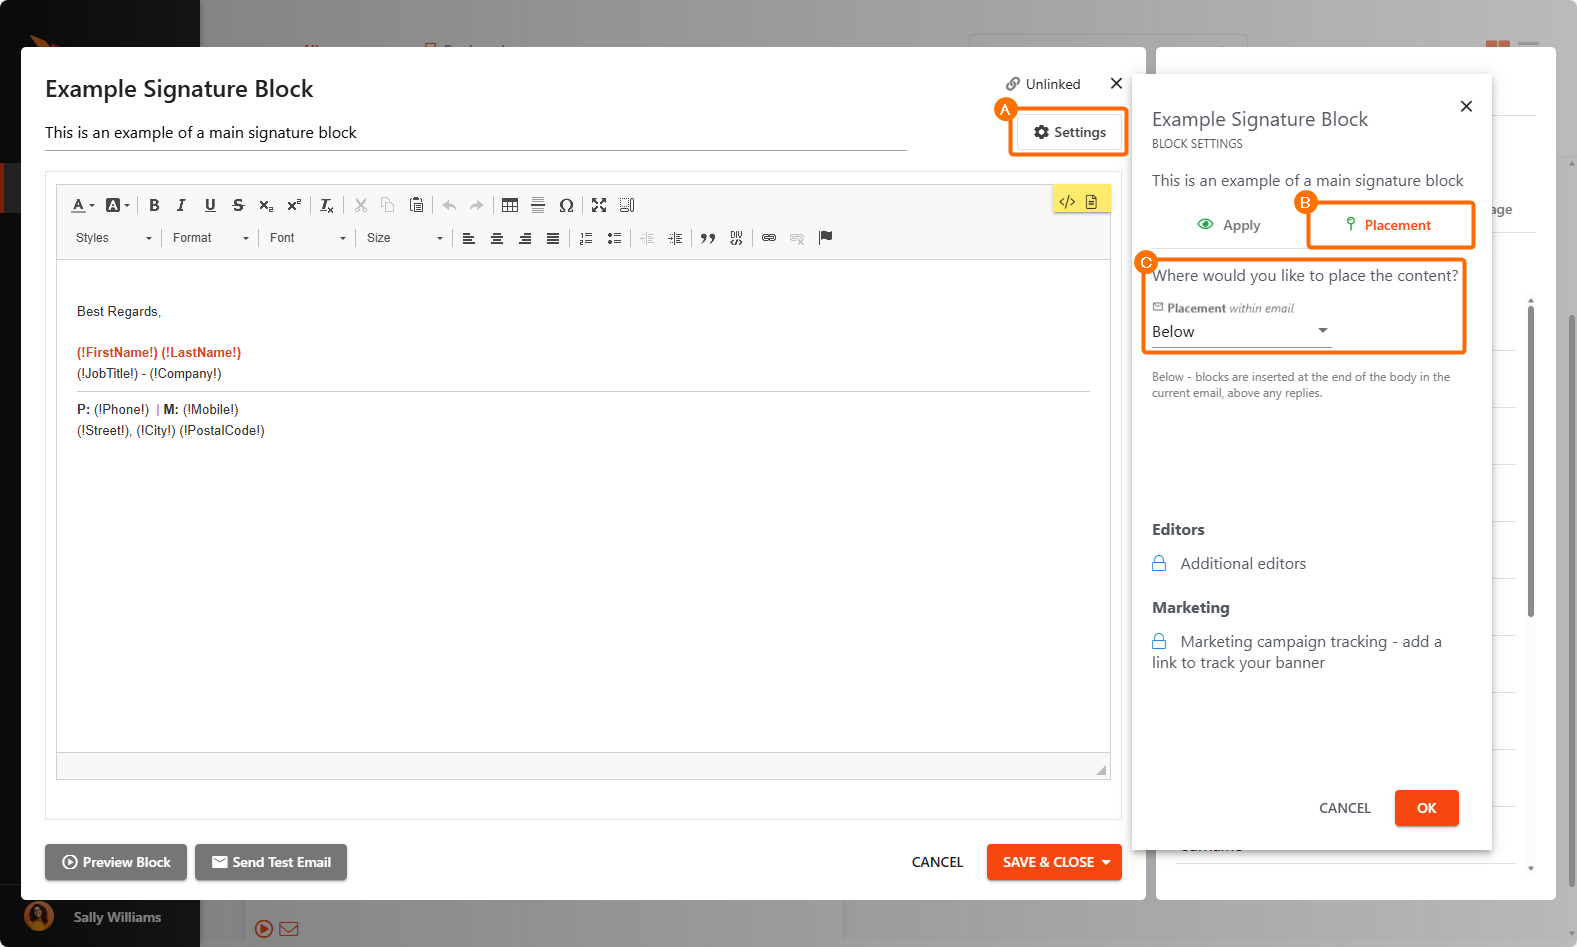
Choose Where the Block is Applied
When editing, Click Settings, look for Placement and select Where would you like to place the content?
-
Above – adds the block to the very top of the email content.
-
Below – adds the block to the very bottom of the email content.
Click Save when you’re done.
Your Signature Block can now be used in one or more email signatures.