
The Image Library allows you to organise and manage all uploaded images in one central location. This article explains how to create folders and upload images.
Creating an Image Folder
To keep your library organized, you can create folders to group related images.
-
Sign in to the Crossware Portal and navigate to the Images section.
-
Click New Folder.
-
Enter the following details:
-
Folder Name – Choose a clear, descriptive name for easy identification.
-
Description – (Optional) Add additional context about the folder's contents.
-
-
Click ✓ to save your folder.
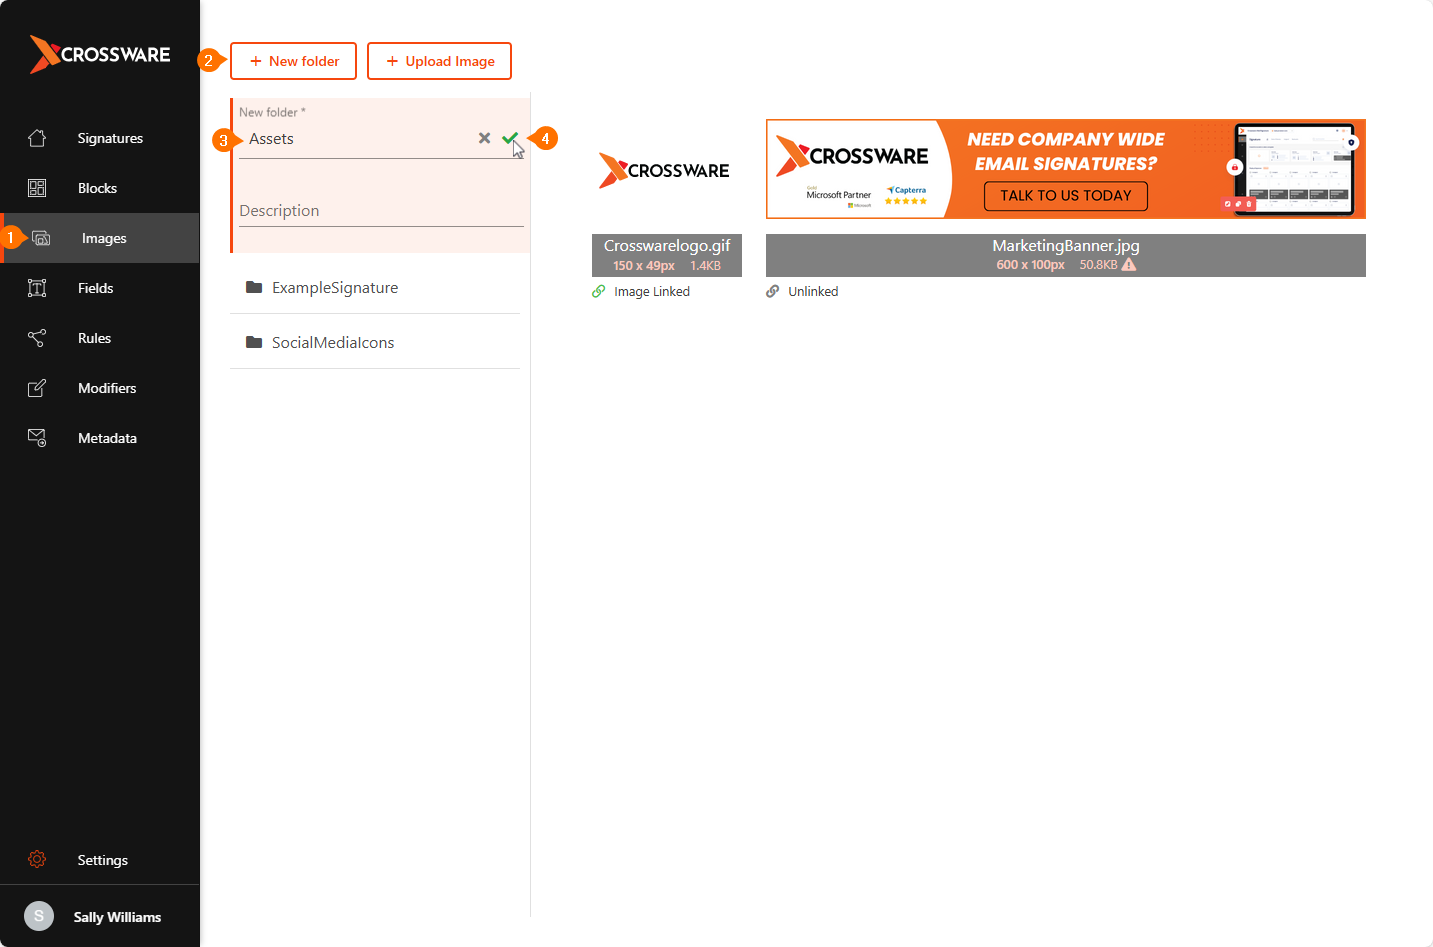
Use folders to separate projects, campaigns, or image types for easier navigation.
Uploading an Image
Images can be uploaded directly into a selected folder.
-
Click the folder where you want to add the image.
-
Click the Upload Image.
-
Select the image file from your device.
-
Once uploaded, the image will appear in the folder.
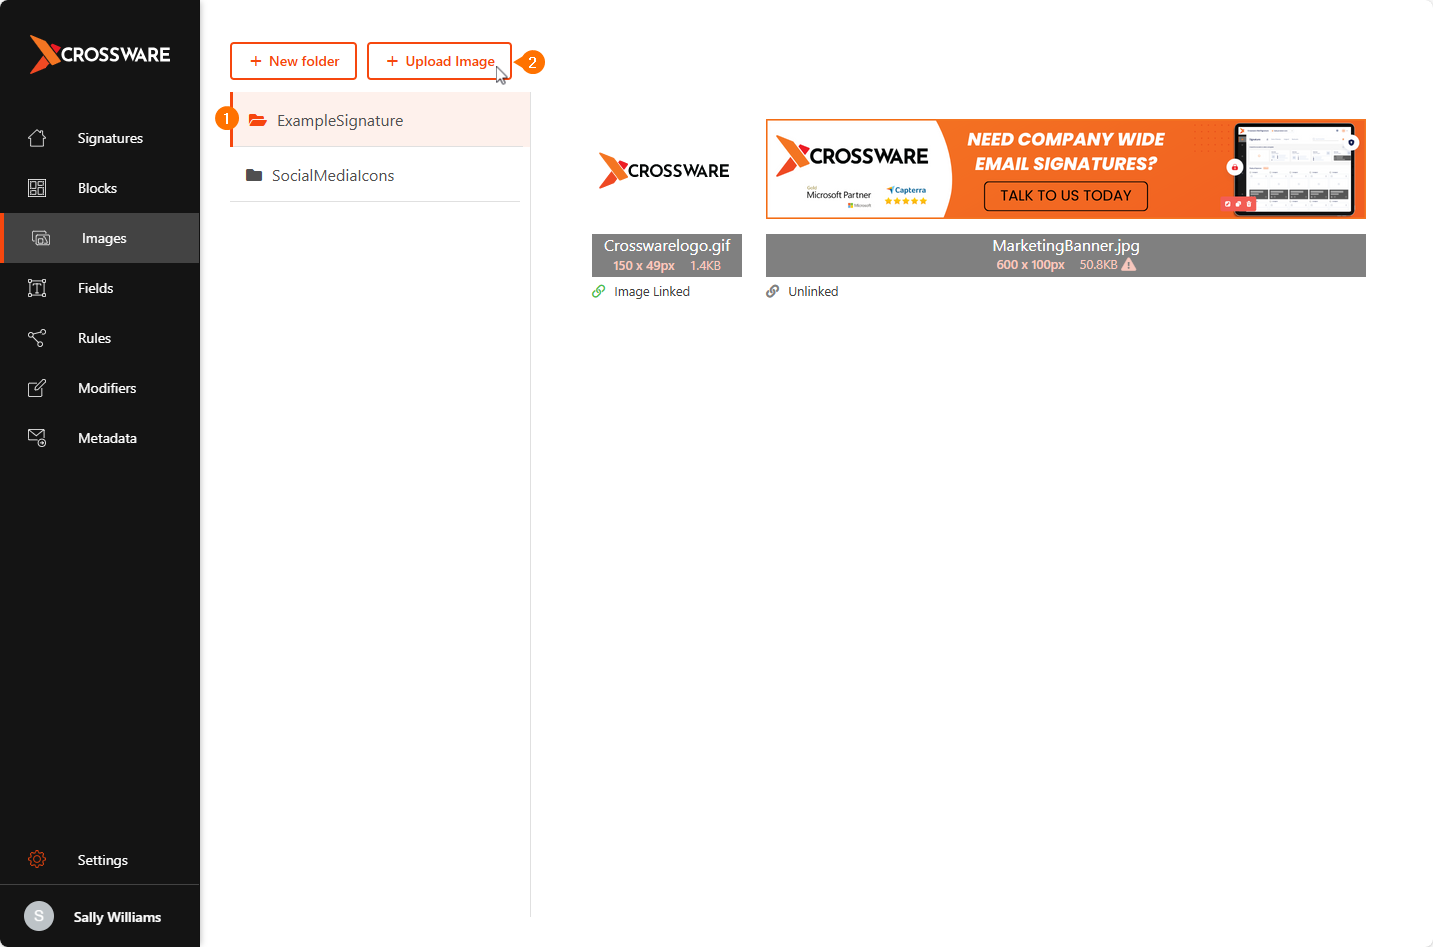
You will get a warning icon pop up in the details of your image if its size exceeds 10KB. We recommend that you keep image sizes below 10KB for performance and storage optimisation.
Using Uploaded Images in Your Design
To use an uploaded image in your design, refer to the following guide:
Add Images to Signature Design