
This guide explains how to add personalised images such as staff photos or custom graphics to your email signature in Crossware Email Signature.
Prepare Your Image
Before uploading anything to Crossware, you will need to create your image file.
-
You can use .gif, .png, or .jpg formats.
-
Name the file using this format:
Firstname_Lastname.extension
Examples:
-
John_Smith.gif
-
Emily_Walker.jpg
-
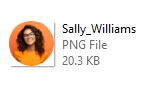
Sally_Williams.png
Upload Your Image to Crossware
-
Sign in to the Crossware Portal.
-
Navigate to the Images section.
-
Click New Folder and enter a name for the folder (for example, Staff Photos).
-
Select the newly created folder.
-
Click Upload Image and choose the image or images you created earlier and upload them.
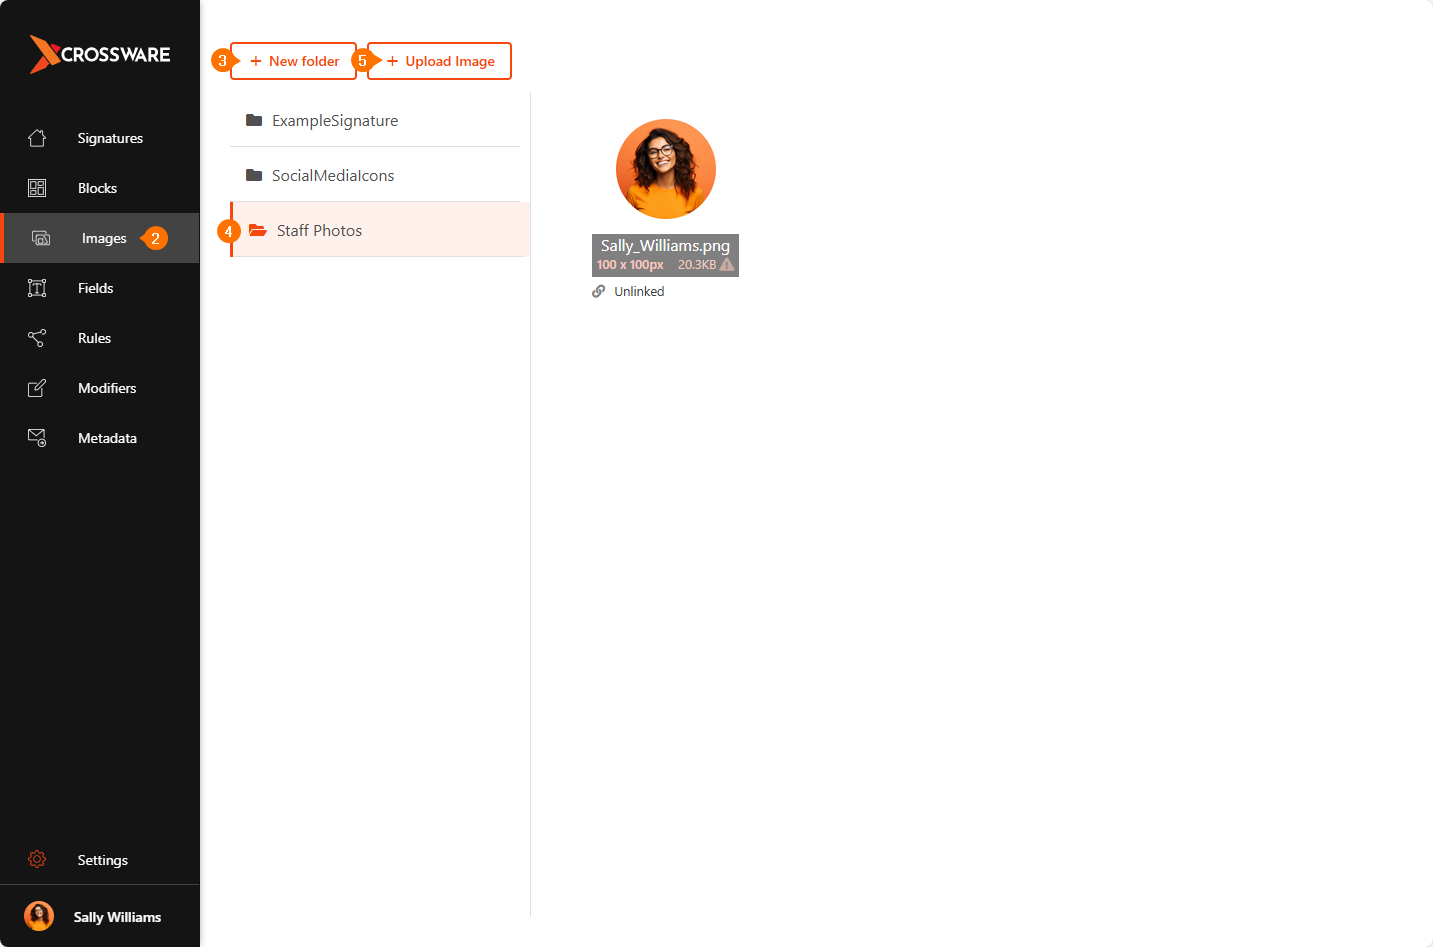
Once the upload is complete, the images will appear in the selected folder.
Create a Formula to Select the Correct Image Automatically
Crossware can automatically match each user's name to the correct image by using a formula.
-
Go to Fields, click Formula.
-
Select Create new formula field.
-
Name it something like SignatureImageFormula.
-
Paste the following code into the formula editor:
string strFirstName = "(!FirstName!)";
string strLastName = "(!LastName!)";

string fileName = strFirstName + "_" + strLastName + ".png";

return fileName;
Note:
If you use .png or .jpg, simply update the file extension in the code to match your image type.
Example using GIF:
string fileName = strFirstName + "_" + strLastName + ".gif";
Example using JPG:
string fileName = strFirstName + "_" + strLastName + ".jpg";
-
Save the formula field.
Create an Image Field for Your Signature
This step adds the personalised image into your signature layout.
-
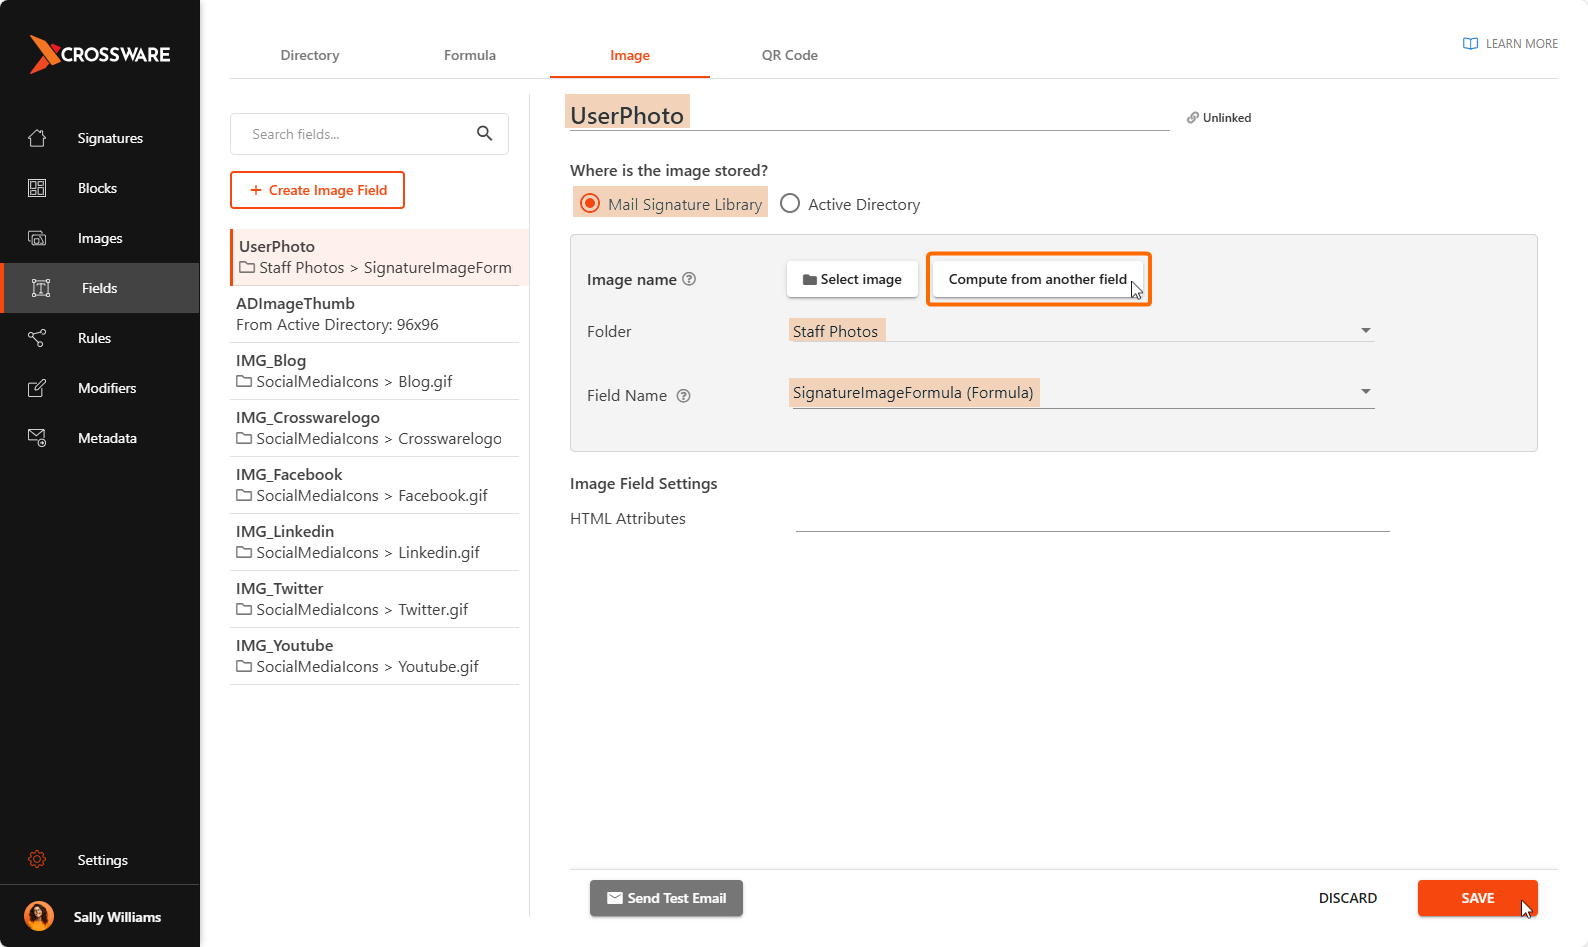
Go to Fields, click Image.
-
Select Create image field.
-
Configure the settings as follows:
-
Field Name:
For example, UserPhoto -
Where the Image is Stored:
Select Mail Signature Library -
Image Name:
Select Compute from another field.
Under Folder, Select Staff Photos.
Under Field Name, Select the Formula created (SignatureImageFormula). -
Exclude from Cache:
Set to Off
-
-
Save the image field.
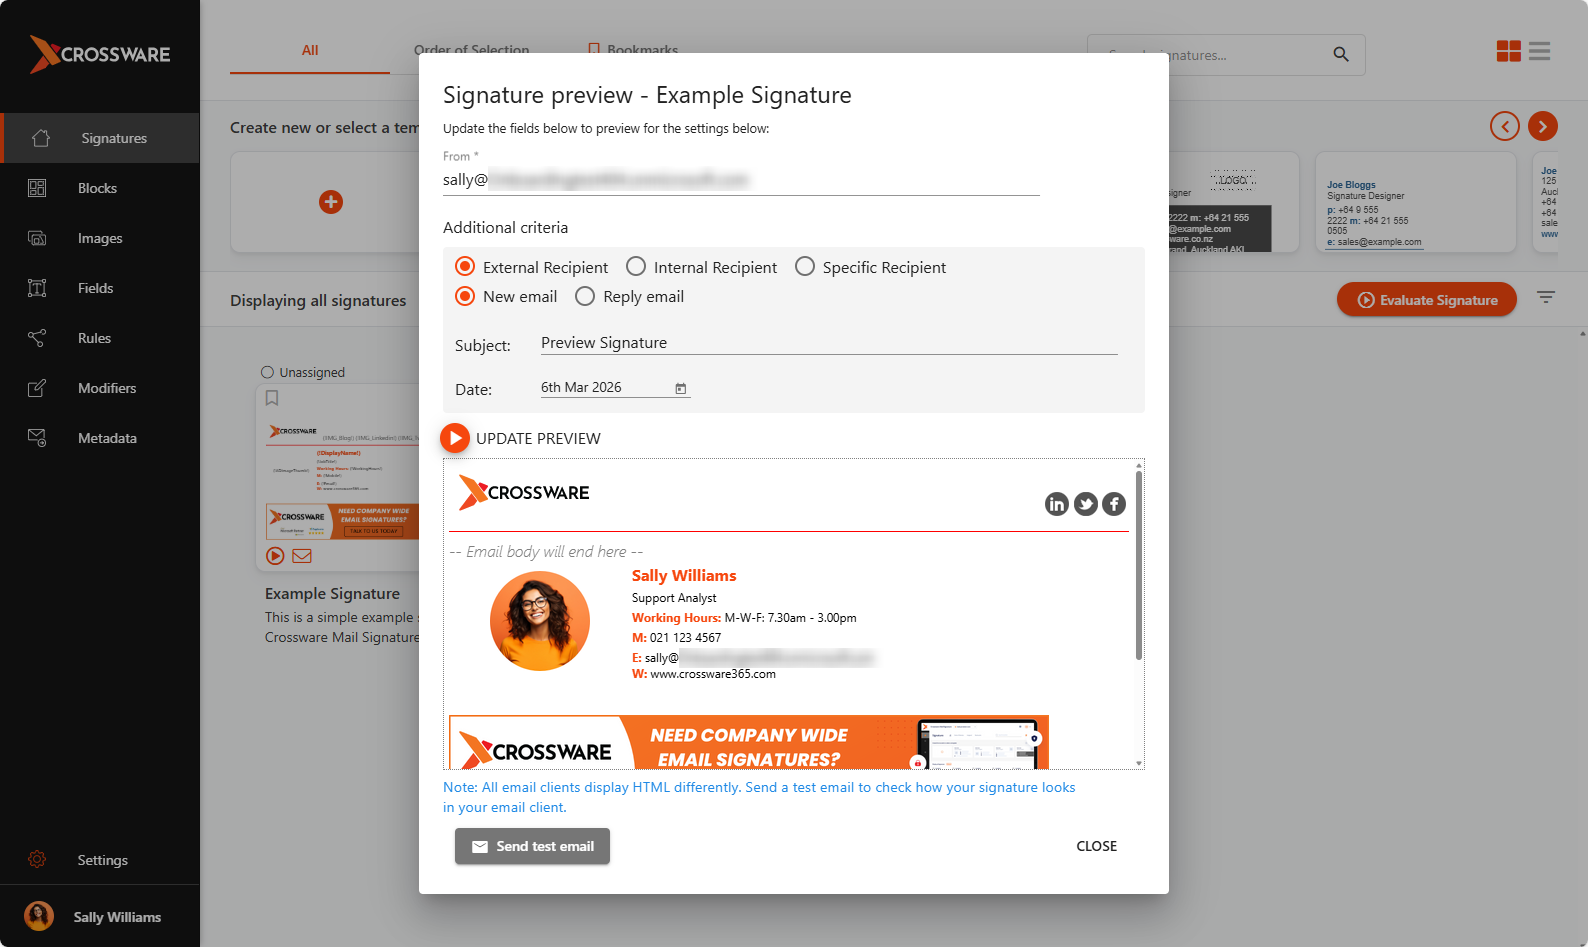
Test That Everything Works
-
Use the Signature Preview feature in the Crossware portal.
-
Confirm that the correct image displays for the test user.
-
If the image does not appear, check the following:
-
The filename and extension match your formula
-
The image is uploaded to the correct folder
-
The image format is supported (.gif, .png, or .jpg)
-
Once everything looks correct, you can place the image field into your signature design.