
Crossware’s signature portal allows users to create, customise, and manage email signatures for an organisation. This guide walks you through setting up an email signature using Crossware Email Signature.
On the Crossware Portal, click the + icon to start designing a new signature.
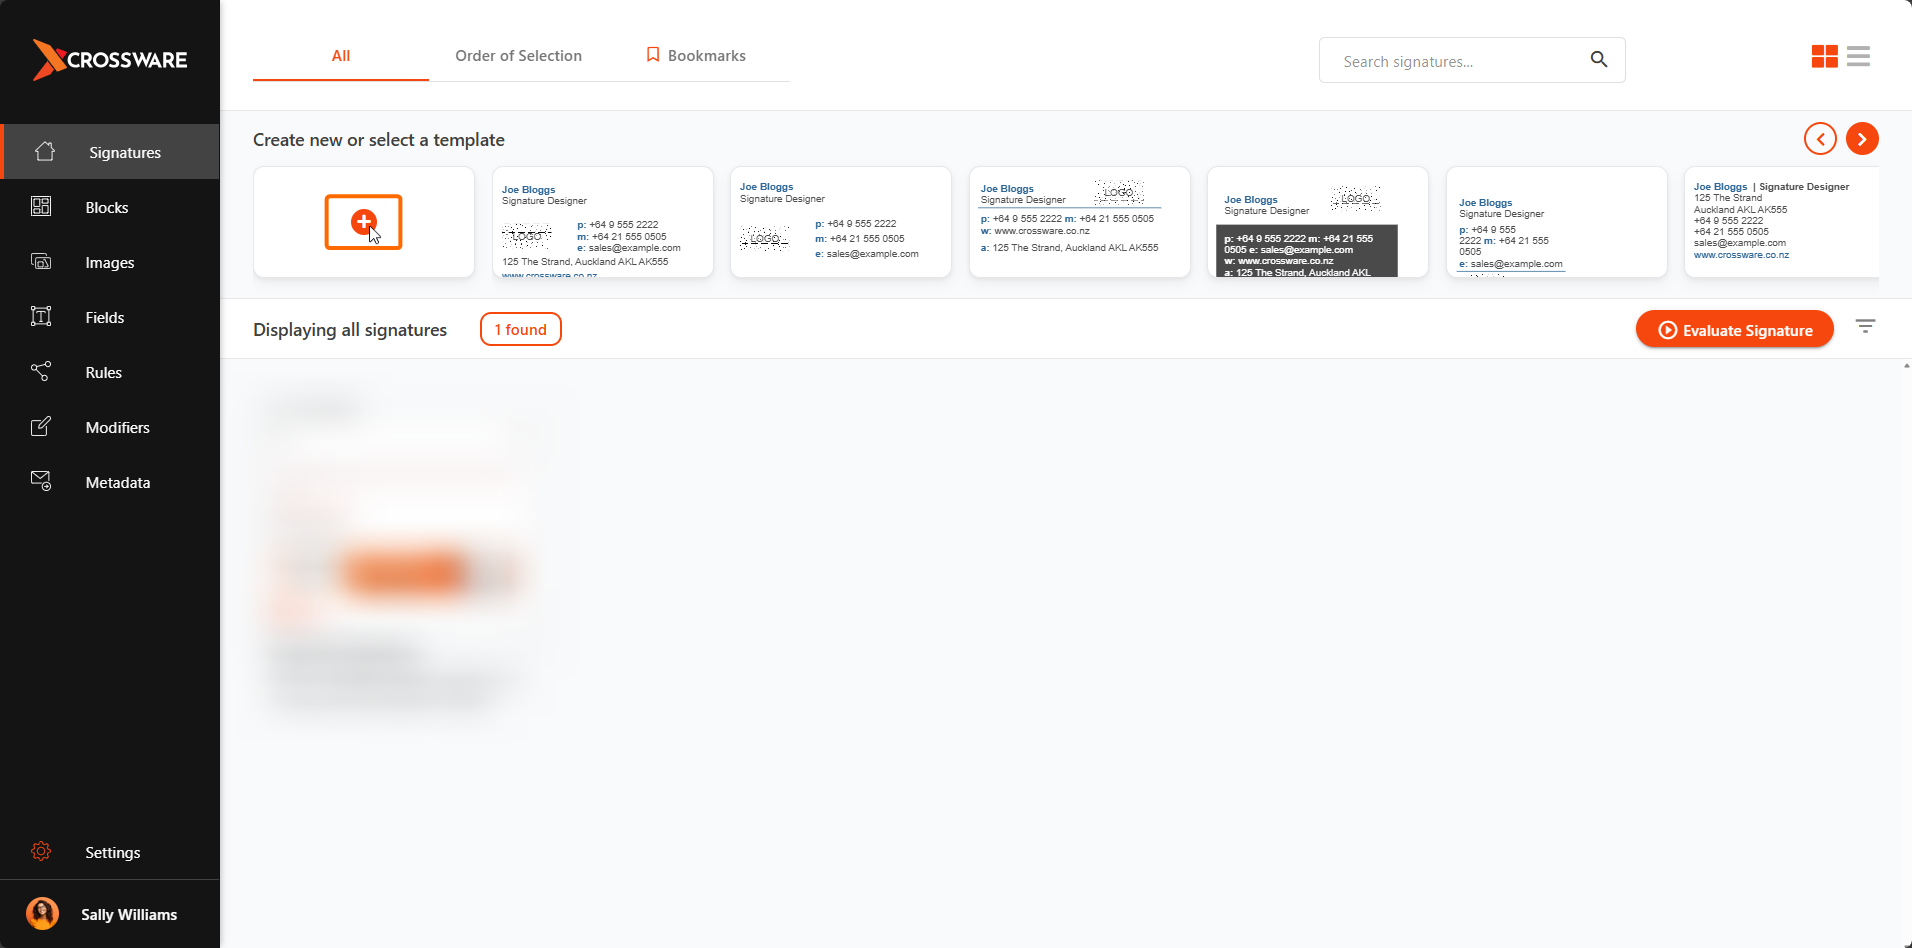
(Optional) Choose a pre-made template from the carousel instead.
Action Buttons
-
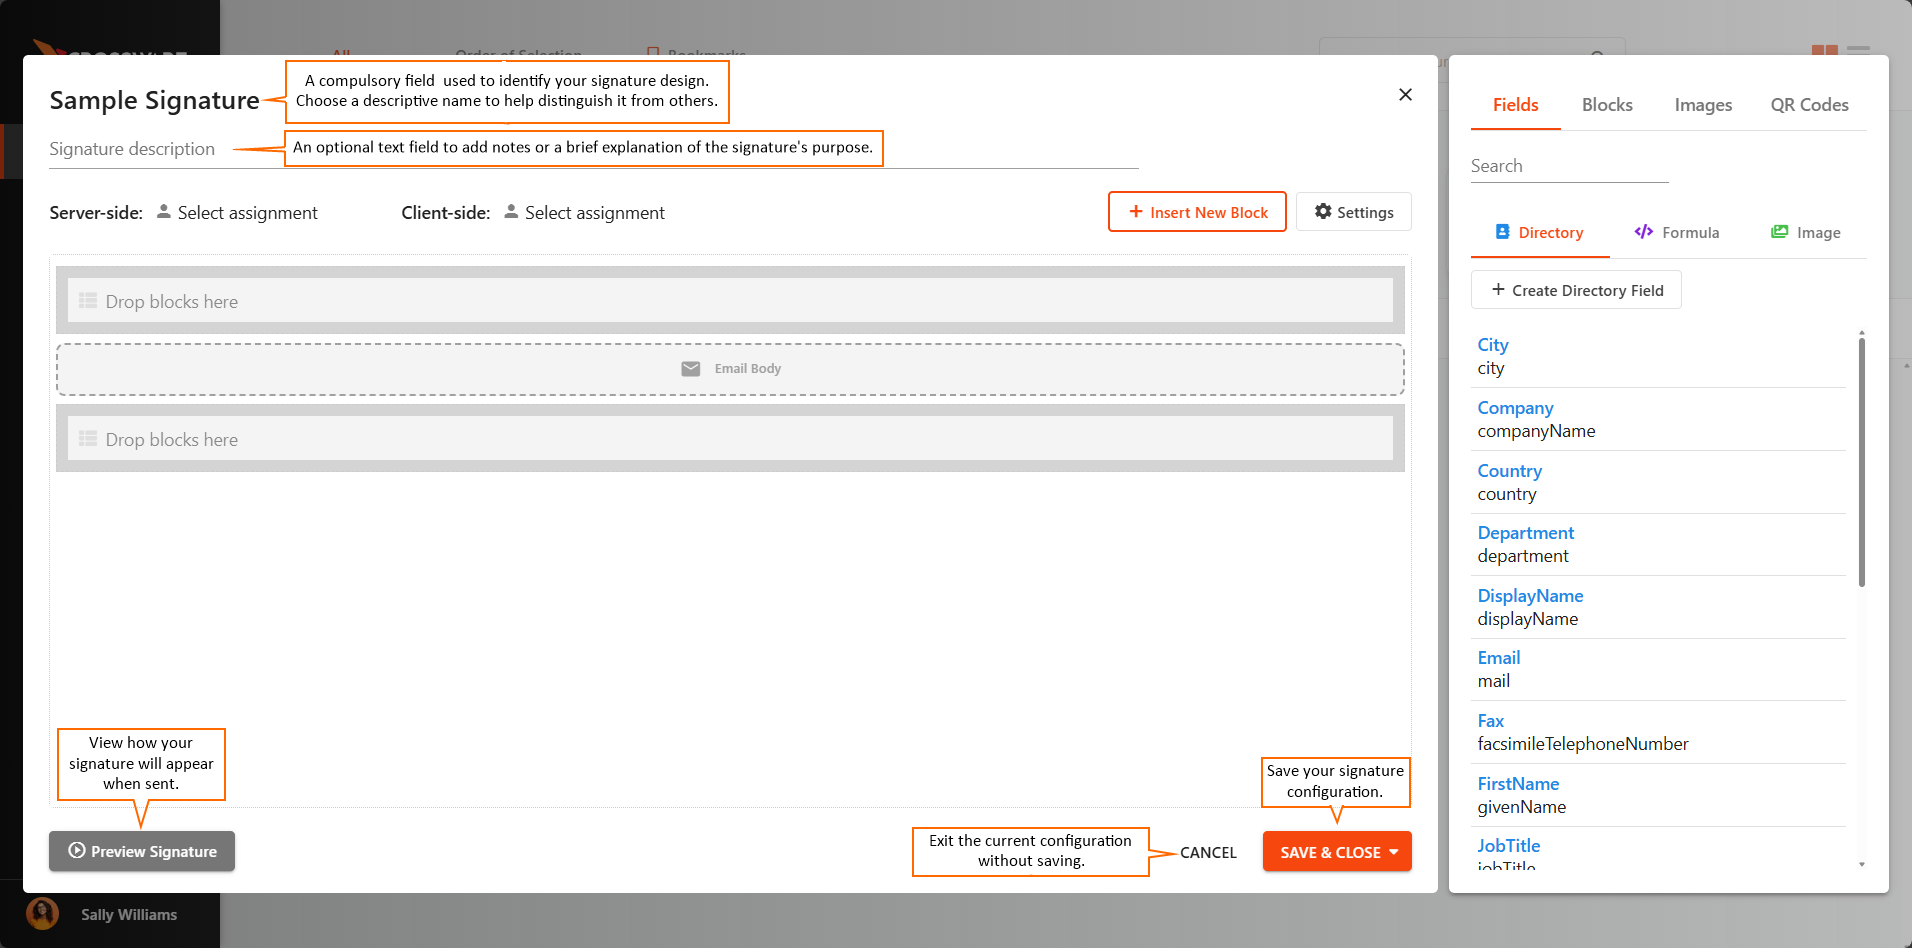
Save – Save your signature configuration.
-
Cancel – Exit the current configuration without saving.
-
Preview Signature – View how your signature will appear when sent.
Name and Description
-
Name: A required field used to identify your signature design. Choose a descriptive name to help distinguish it from others.
-
Description: An optional text field to add notes or a brief explanation of the signature’s purpose.
Who Is This Signature For?
From the Group drop-down, select one of the following:
-
Unassigned – The signature is not assigned to any group or user.
-
User or Group – The signature is assigned to a specific user or group. Click Select a user or group to choose from available user or groups.
-
Rule – The signature is assigned based on a rule. A rule uses a C# script if it returns true, the signature is applied. Click Select a rule to choose from rules created under the Rules tab in the left-hand menu.
Add Signature Blocks
Signature Blocks allow you to design reusable sections of your signature.
In the right-hand panel, select from the following tabs:
-
Above – Inserts blocks at the top of the email, above the message body.
-
Below – Inserts blocks at the bottom of the current email, above any replies.
To insert a block:
-
Click the arrow next to the block name (hover over the name to reveal it), or
-
Drag and drop the block into your design.
Alternatively, click + New Block to create a new block inline.
For more details, see Signature Blocks.
Edit HTML Code
To manually edit the HTML of your signature, click the Show HTML button.
This will display the HTML editor below your design, allowing you to make direct changes to the code.
Add Fields
You can drag and drop fields into your signature. These can pull information from:
-
Azure Active Directory
-
Custom C# scripts
Field types include:
-
Directory – Retrieves user information from the directory.
-
Formula – Inserts data calculated using a C# script.
-
Image – Displays an image from your image library.
You can also insert fields inline as needed.
For more details, see Fields.
Add Images
Add images to your signature by dragging and dropping them from your Image Library.
To upload new Images:
-
Click Manage Images.
-
Select Upload Image and choose an image from your computer.
Recommendation: Keep image file sizes below 10 KB for best performance.