What is a Signature Block?
A Signature Block is a piece of your signature, such as an ad banner, disclaimer or address, which can be controlled separately from the rest of the signature. Signature Blocks are usually set up to ensure that these pieces only appear to certain email recipients, e.g. a disclaimer that only those external to your company can see.
You to retain full control of Signature Blocks by applying rules (simple, or advanced using C#) to them to customise when they are added as part of your signature.
You can create and apply an unlimited number of Signature Blocks. Signature Blocks can be re-used on any number of signatures in your Crossware Email Signature account.

Example Scenario
You might:
-
Use a company-wide block that contains personalised user information.
-
Attach a division-specific block with the correct logo, address, and contact details.
-
Add a company-wide disclaimer block at the bottom of every email.
In this setup, the signature is made up of multiple smaller blocks, each controlled independently.
Conditional Signature Blocks
Signature Blocks can be configured with conditions to determine when they should appear:
-
Internal or external emails. For example, you could show one version to colleagues within your organisation and another to external recipients.
-
Rule-based or scripted logic. You can use rules or C# scripts to decide which block is applied, for instance selecting a block based on department.
Reusability
Signature Blocks can be reused across multiple signature configurations. This allows you to maintain a consistent design, such as a company disclaimer or banner, without needing to duplicate effort in every signature.
Flexibility
You have full control over:
-
Who sees each block
-
When it appears
-
How it combines with other blocks
This flexibility ensures your organisation can deliver the right branding, legal text, and personalised information in every email.w
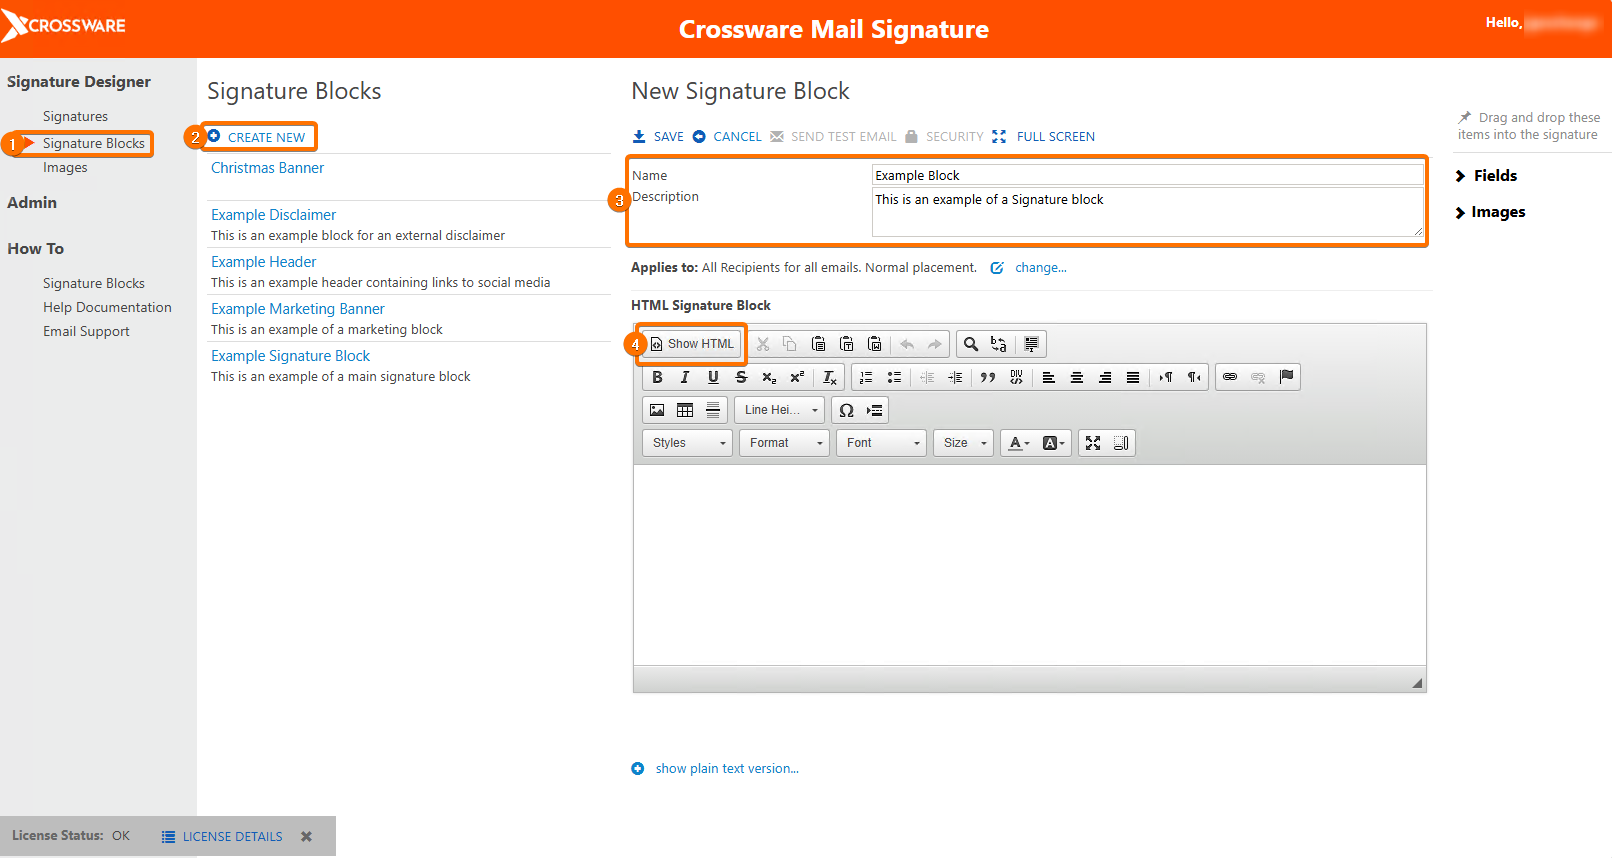
Create a Signature Block
-
In the left-hand menu, Under Signature Designer, click Signature Blocks.
-
Select Create New.
-
Enter a Name and Description.
-
Use the editor to design your block. To switch to HTML view, select Show HTML.
-
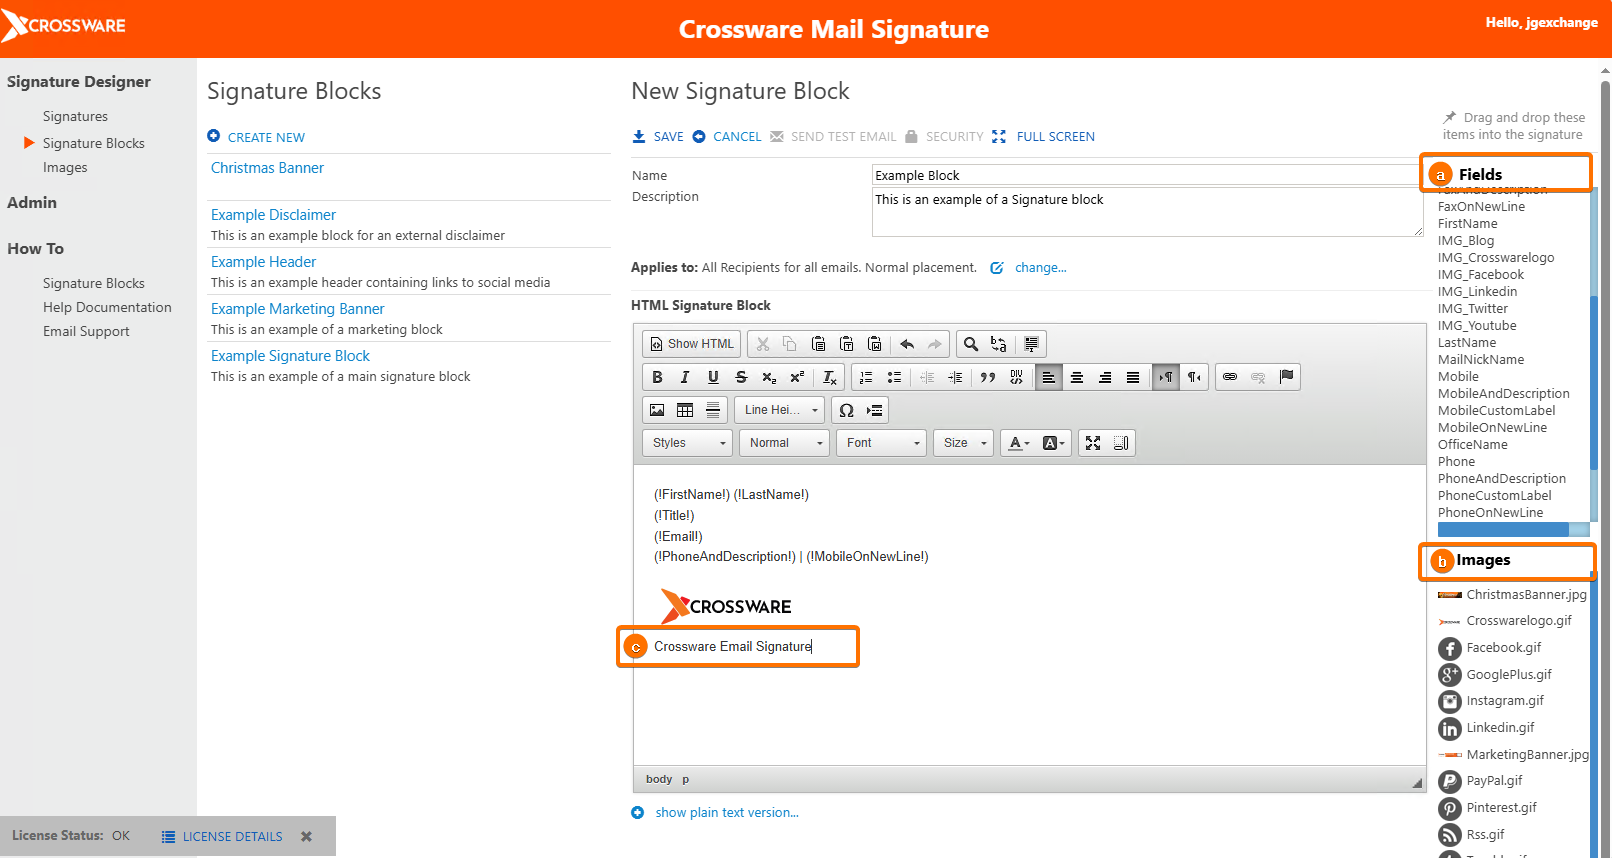
Add the content you need:
a. Active Directory fields
-
Select Fields in the right-hand menu.
-
Drag the required field into the block.
b. Images or graphics
-
Select Images in the right-hand menu.
-
Drag and drop an image into the block.
-
To upload a new image:
-
Select the image icon in the editor menu.
-
Choose Upload.
-
Select Choose File.
-
Select Send to Server.
-
Select OK.
-
-
Drag the image into position as required.
c. Text
-
Type or paste text directly into the editor.
-
Where possible, use Active Directory fields instead of fixed text to ensure signatures remain up to date for each user.
-
-
Save your block.
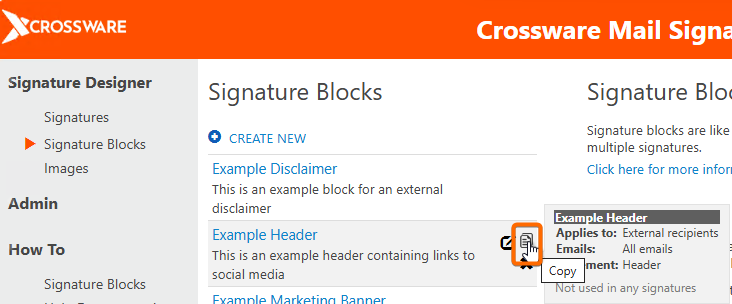
Create a copy of a Signature Block
-
Go to Signature Blocks in the sidebar menu and find the Signature Bock that you'd like to copy.
-
Hover your cursor on this Signature Block and click the copy symbol.
-
In the Copy Signature Block dialogue box, type in the Name for your new Block.
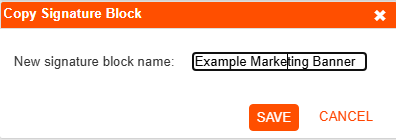
NOTE: Settings related to Applies To and Security will be reset to defaults.
Control Who Sees Each Block and When the Block Appears
-
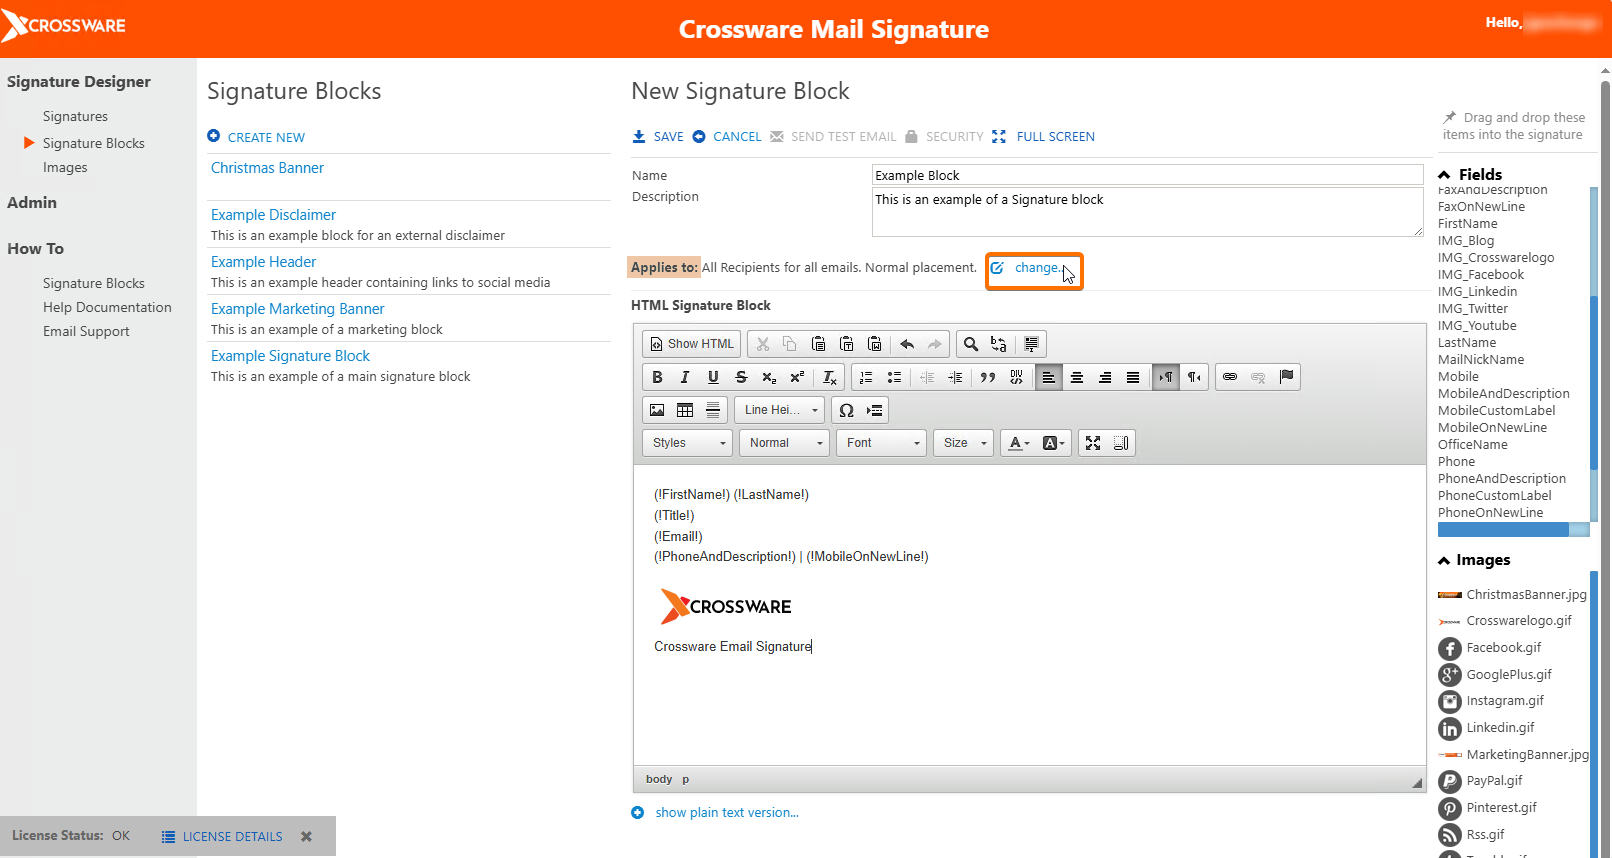
Open the block you want to edit.
-
In the Applies to section, click Change.
-
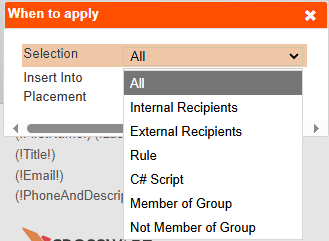
In the Selection dropdown, choose one of the following options:
-
All: The block is added to all emails.
-
Internal Users: The block is added when at least one recipient is inside your organisation.
-
External Users: The block is added when at least one recipient is outside your organisation. If both internal and external recipients exist, the external rule takes precedence.
-
Rule: The block is added if a rule evaluates to TRUE.
-
C# Script: The block is added if a script evaluates to TRUE.
-
Member of Group / Not Member of Group: The block is added depending on the sender’s Azure AD group membership.
-
-
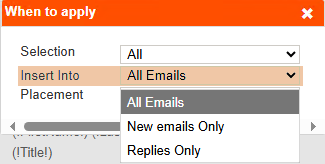
From the Insert Into dropdown, choose one of the following:
-
All Emails: The signature block will always be inserted.
-
New emails only: The signature block will only be inserted if the application cannot detect a "forwarded/replied to" marker in the email.
-
Replies only: The signature block will only be inserted if the application is able to detect a "forwarded/replied to" marker in the email.
-
-
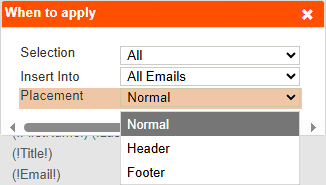
From the Placement dropdown, choose one of the following:
-
Normal: After the new email or before forwarded or replied content.
-
Header: At the top of the email.
-
Footer: At the bottom of the email.
-
-
Save your changes.
How to Add a Block to a Signature
-
Go to Signatures.
-
Select the signature you want to edit.
-
Select Edit.
-
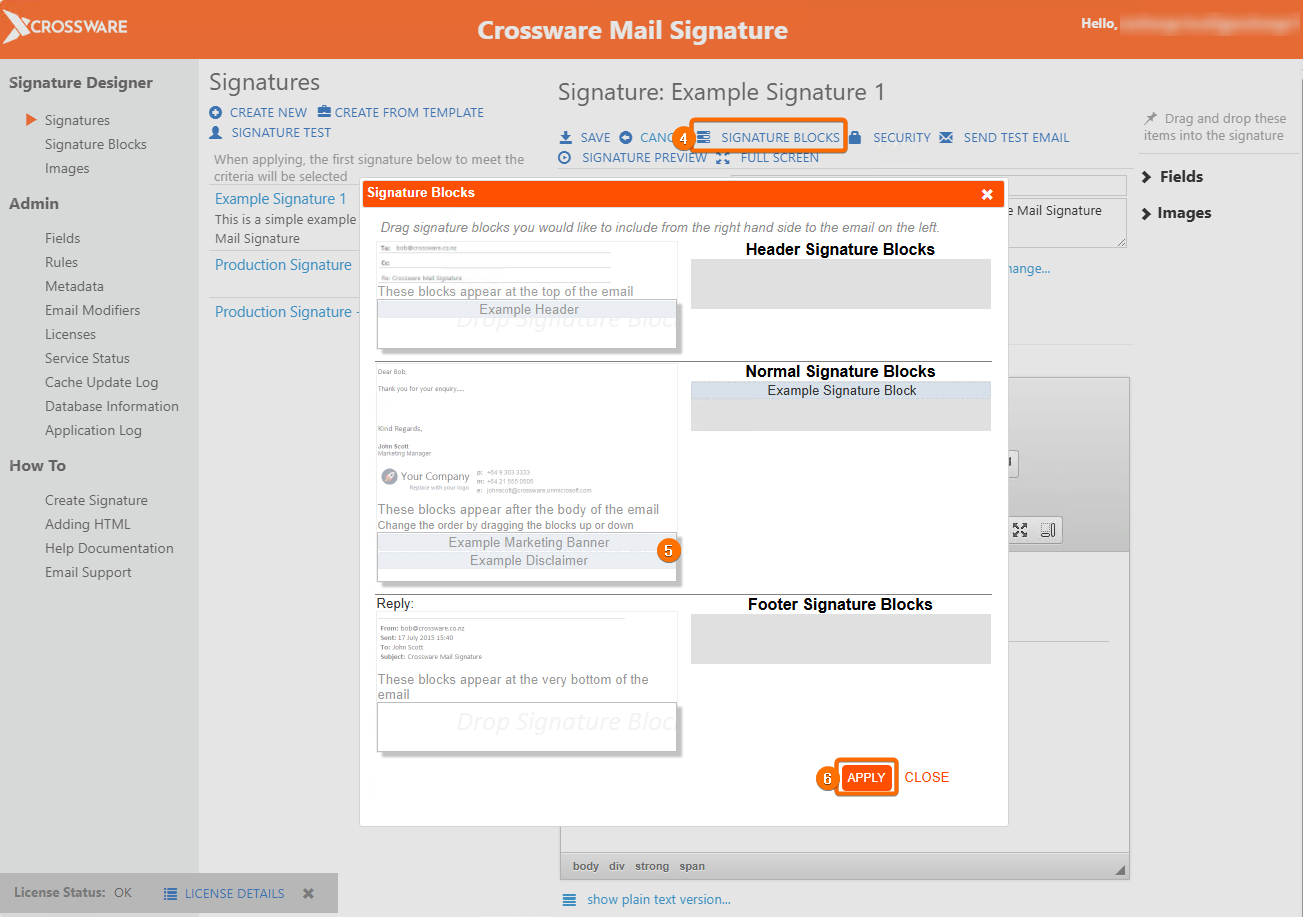
Open the Signature Blocks menu.
-
Drag the required block from the list on the right into one of the three positions: Header, Body, or Footer.
-
Select Apply.
-
Preview the signature to confirm it appears as expected.
-
Send a test email to check that the block is applied correctly.
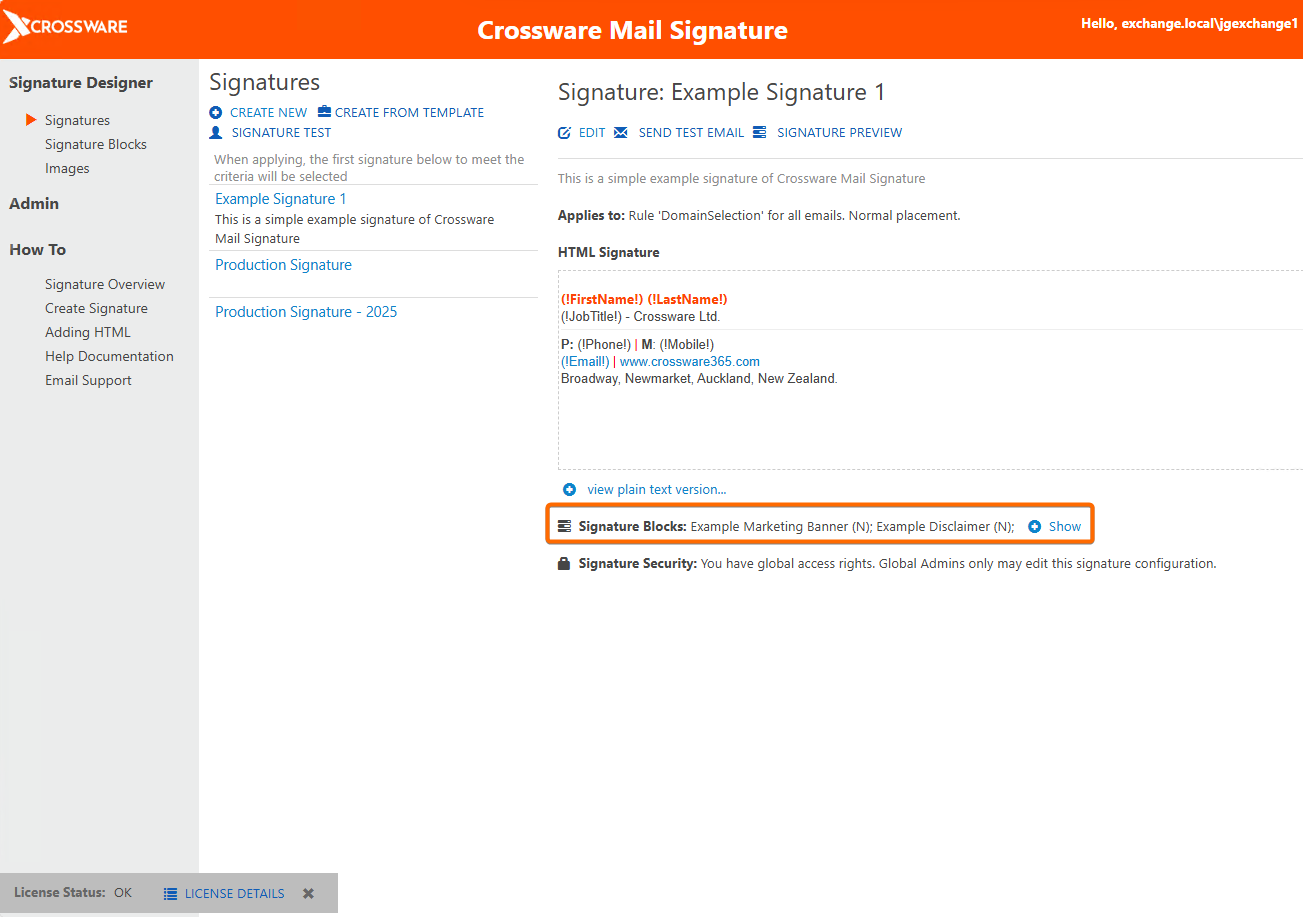
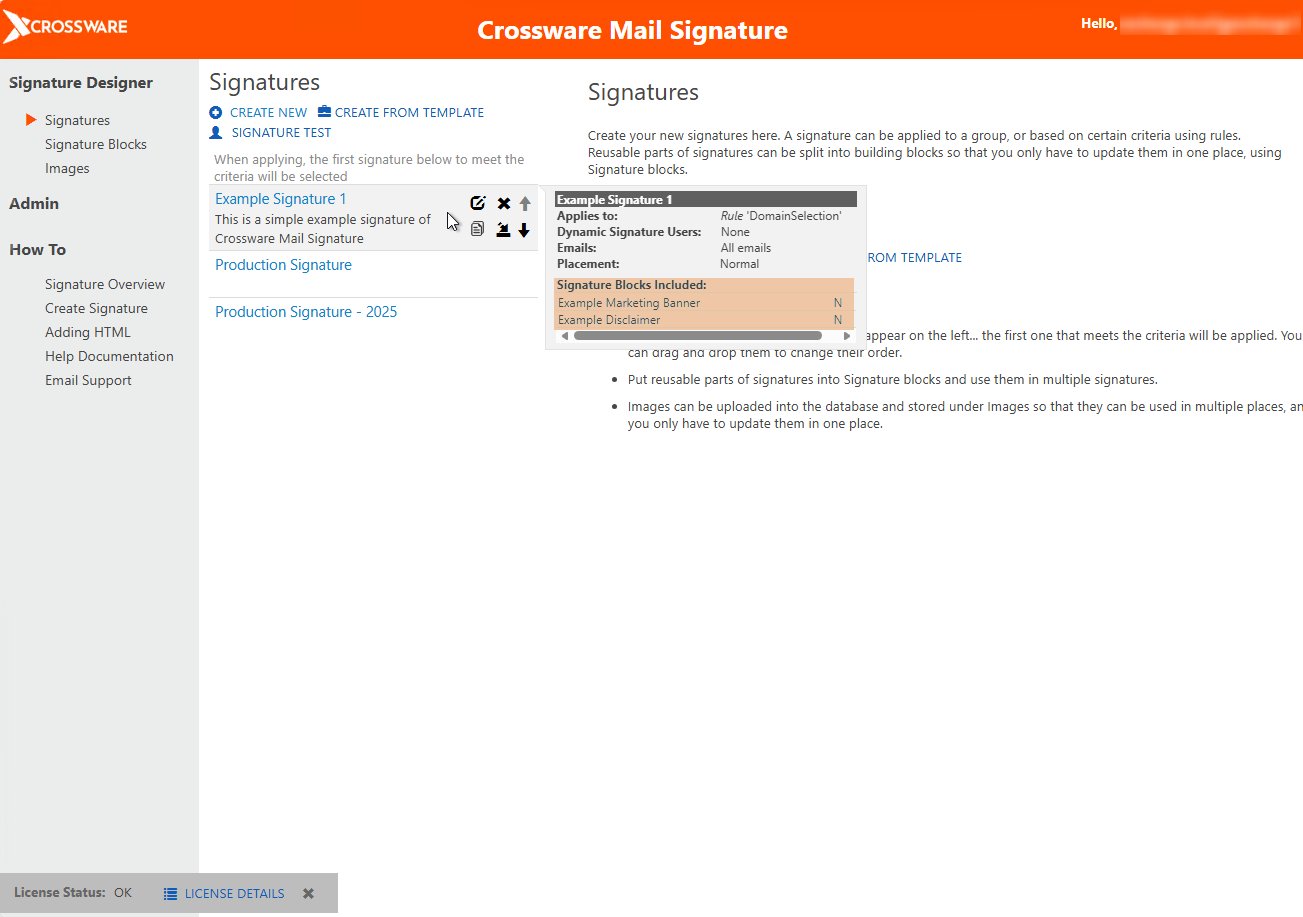
How to View Which Blocks are Attached to a Signature
-
Go to Signatures.
-
Hover over a signature name to view a summary of blocks and their placement.
-
Alternatively, select the signature to see a detailed list of attached blocks beneath the editor.