
Crossware’s signature portal allows users to create, customize, and manage email signatures for an organization. This guide walks you through setting up an email signature using Crossware Email Signature.
Start a New Signature
-
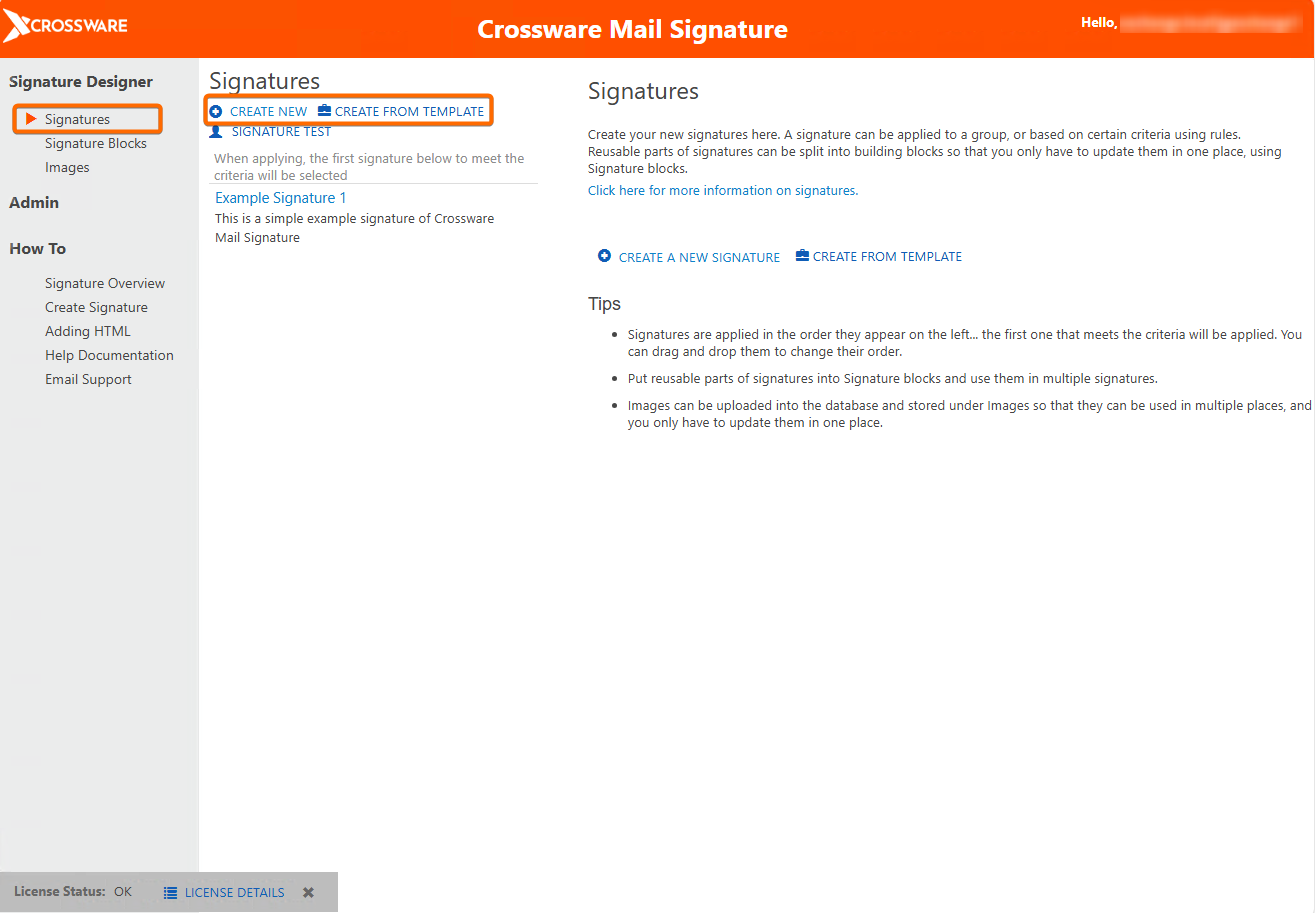
Go to Signatures in the Crossware Designer Portal.
-
Click CREATE NEW to start a new signature design.
-
Alternatively, use CREATE FROM TEMPLATE to base your design on a ready-made template.
Signature Details
-
Name – Enter a descriptive name for the signature.
This helps you identify it later. -
Description – (Optional) Add notes about this signature design for internal reference.
Add Signature Elements
Use the Drag & Drop interface to build your signature:
-
You can add elements that pull data from:
-
Windows Azure Active Directory (WAAD) — for Microsoft 365
-
Active Directory (AD) — for Exchange
-
Custom C# Script — for advanced data retrieval
-
Apply the Signature
Choose who should receive this signature:
-
Person – Apply to a specific user.
-
Group – Apply to a group from your directory.
-
Organizational Unit (OU) – (Exchange only) Apply based on directory structure.
-
Rule – Use a custom rule to decide when the signature applies.
-
Rules must return true or false.
-
When the Signature Appears
Set where and when the signature shows up in outgoing emails:
-
Insert Into
-
All Emails — always includes the signature.
-
New Emails Only — only for new messages.
-
Replies Only — only for replies.
-
-
Placement
-
Normal — after new email and before quoted replies.
-
Header — at the very top of the message.
-
Footer — at the bottom of the message.
-
Edit Signature Content
Design your actual signature content:
-
HTML Signature: Use the HTML editor or advanced editor to design visuals, layout, and formatting.
-
Plain Text Version: Shows what recipients see in plain text emails.
-
You can auto-generate this from the HTML or manually override.
-
Preview & Save
-
SEND TEST EMAIL — Once saved, send a test message to preview how the signature appears for the recipient.
-
Review From/To settings in the test tool to check conditional content and lookups.
Tips
-
Testing helps confirm that all dynamic fields (like name or department) appear correctly.
-
Signature blocks (such as disclaimers or banners) can be included from your Signature Blocks list.