
This guide provides step-by-step instructions for manually connecting your Microsoft 365 environment to the Crossware Email Signature server-side solution.
Manual setup is typically required if automatic setup cannot be used or if your environment requires a custom deployment.
Prerequisites
-
Global Administrator access to your Microsoft 365 tenant and Exchange Admin Center
Setup Overview
This process consists of five main steps:
-
Create two Microsoft 365 groups.
-
Generate a certificate from the Crossware Portal.
-
Create two Exchange Online connectors (Inbound and Outbound).
-
Create a transport rule in Exchange Online.
-
Add the certificate as an accepted domain.
Create two Microsoft 365 groups
-
Sign in to the Microsoft 365 admin center as a Global Admin.
-
Create the following groups:
Group 1 – Users
-
Type: Distribution list
-
Name: CrosswareMailSignatureUsers
-
Purpose: Emails from members of this group will be sent to Crossware for signature processing.

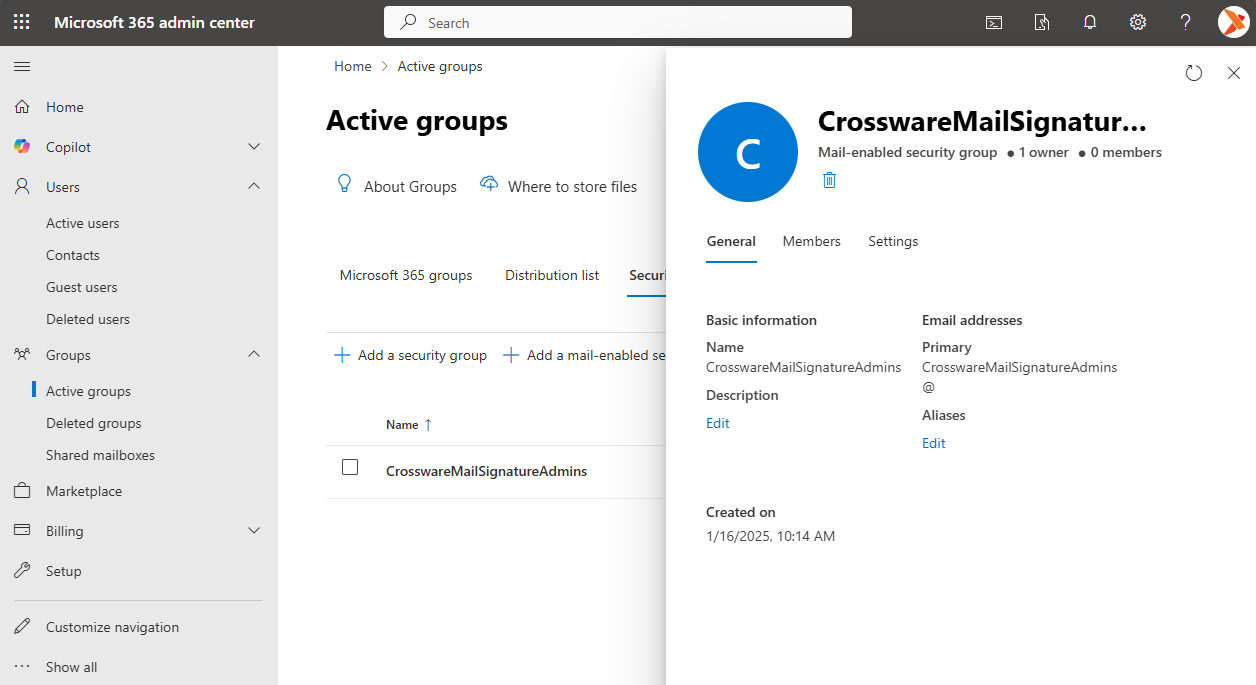
Group 2 – Admins
-
Type: Security group
-
Name: CrosswareMailSignatureAdmins
-
Purpose: Members can configure Crossware Email Signature.
Generate a Certificate
-
In the Crossware Portal, navigate to the Connectors and select Update Manually.
-
Generate a unique certificate and copy the value. this will be required later for:
Accepted domain configuration
Inbound connector setup

The certificate remains available in the portal for future use.
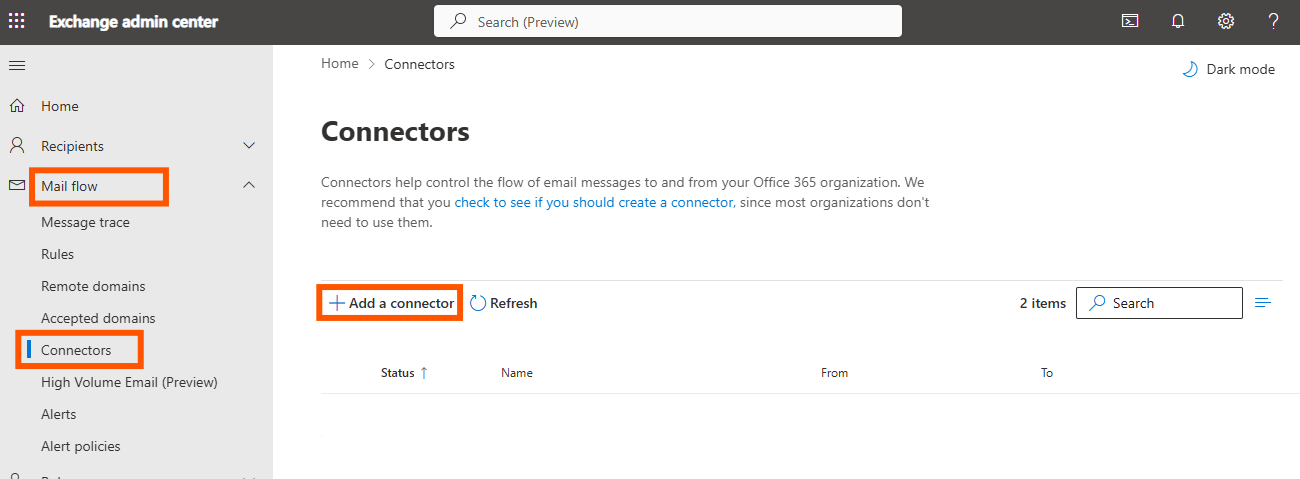
Create Exchange Connectors
-
Sign in to Exchange Admin Center.
-
Navigate to Mail flow > Connectors, then click on + Add a connector.
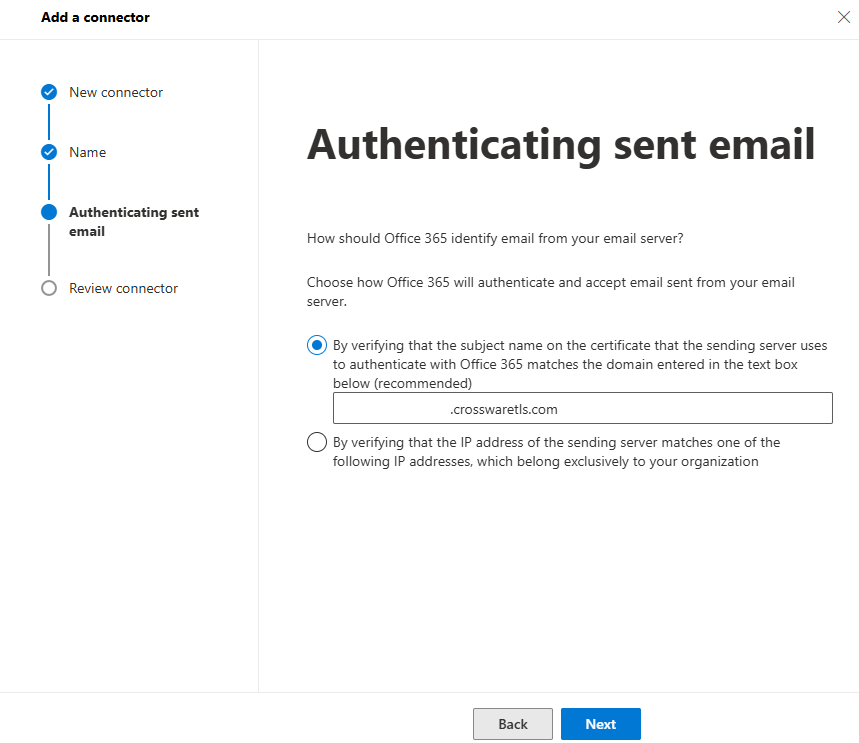
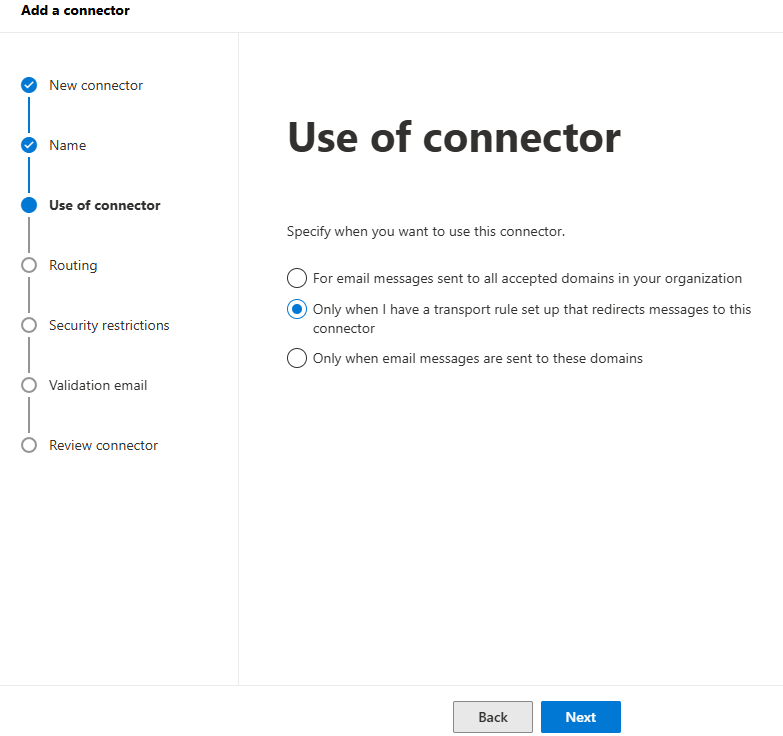
Create Inbound Connector
Name: CrosswareInboundConnector
From: Your organisation’s email server
To: Microsoft 365

Certificate: Use the unique certificate generated in Step 2.
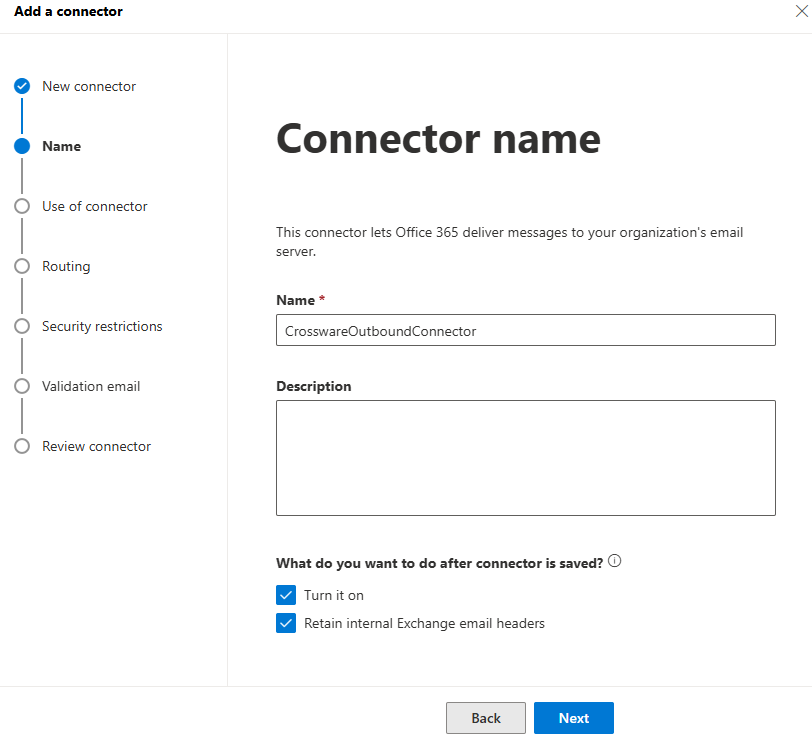
Create Outbound Connector
Name: CrosswareOutboundConnector
From: Microsoft 365
To: Your organisation’s email server
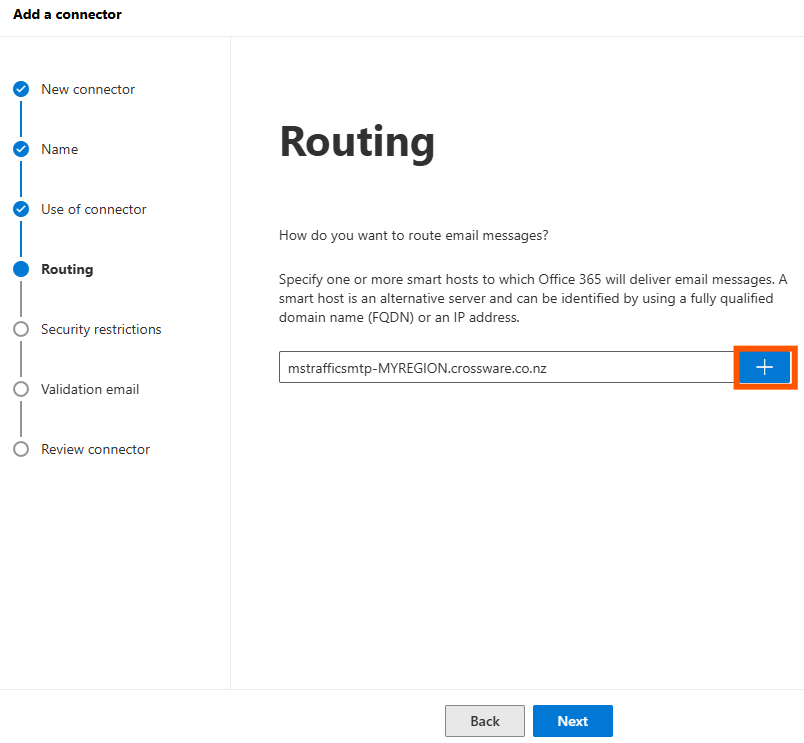
Smart Hosts
Use the host for your region
These are for new deployments. Existing customers may have different details. Contact Crossware Support if unsure.
|
Country |
Smarthost |
|---|---|
|
Australia |
mstrafficsmtp-aus-k1.crossware.co.nz |
|
Canada |
mstrafficsmtp-can-k1.crossware.co.nz |
|
Europe |
mstrafficsmtp-eu-k2.crossware.co.nz |
|
France |
mstrafficsmtp-france.crossware.co.nz |
|
India |
mstrafficsmtp-ind-k1.crossware.nz |
|
Qatar |
mstrafficsmtp-qat-k1.crossware.co.nz |
|
United Arab Emirates |
mstrafficsmtp-uae-k1.crossware.co.nz |
|
United States |
mstrafficsmtp-us-k1.crossware.co.nz |
Click on the + to add the smart host name.
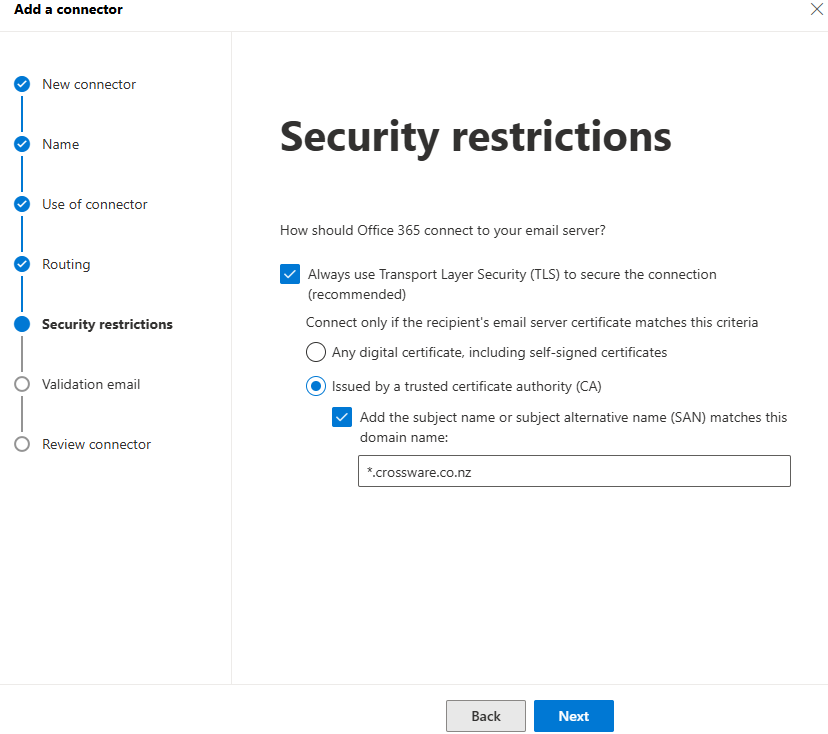
Certificate Name: *.crossware.co.nz
Validate the connection with an internal email address.
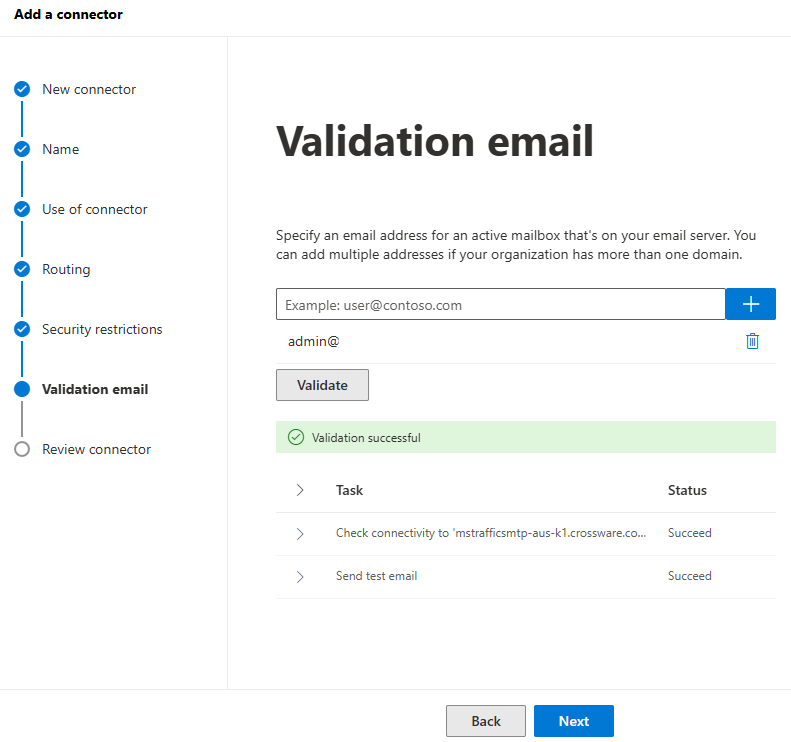
If validation fails, wait a few minutes and retry.
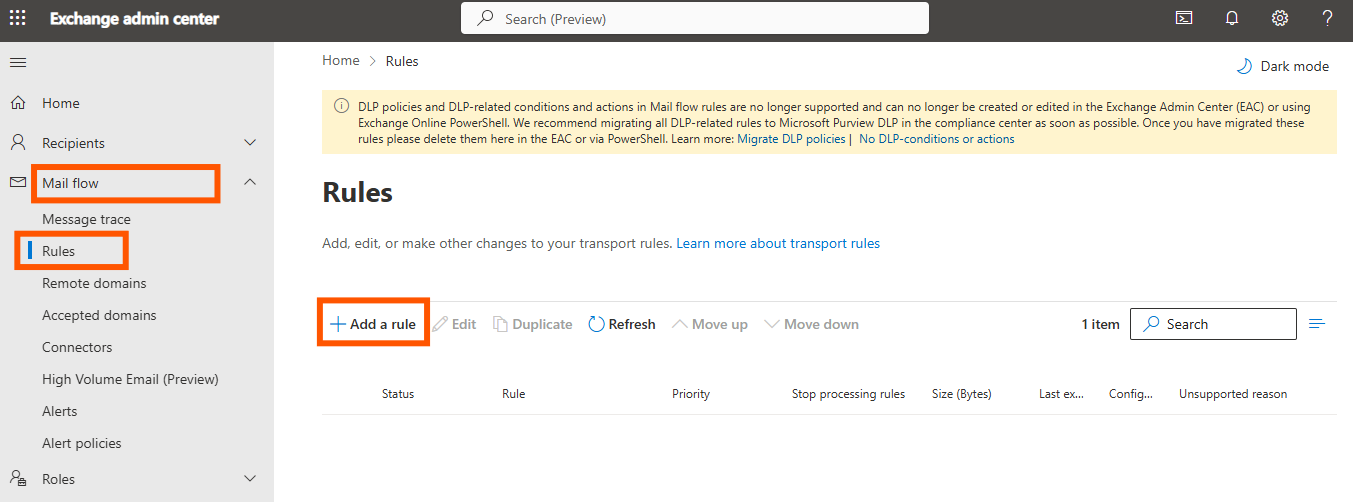
Create Transport Rule
-
In Exchange admin center, go to Mail flow > Rules > + Add a rule.
-
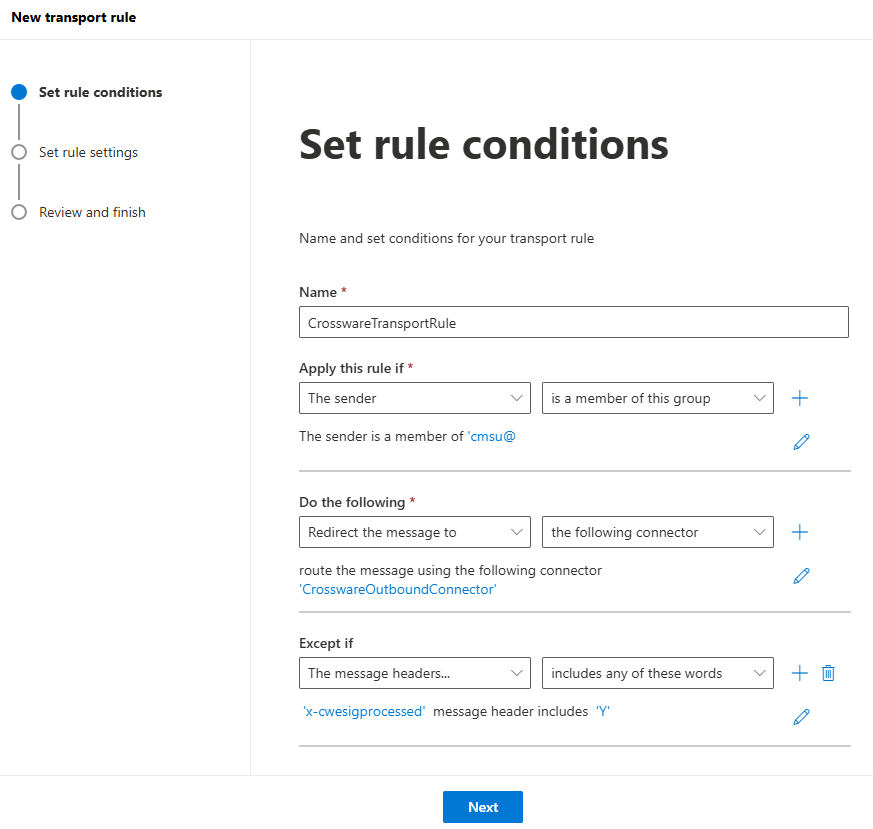
Enter the Rule Name as CrosswareTransportRule.
-
Configure:
-
Apply this rule if... → The sender is a member of CrosswareMailSignatureUsers.
-
Do the following... → Redirect the message to the connector → CrosswareOutboundConnector.
-
Except if... → The message headers includes.
-
Header name: x-cwesigprocessed
-
Value: Y
-
-
Match sender address in message → Envelope
-
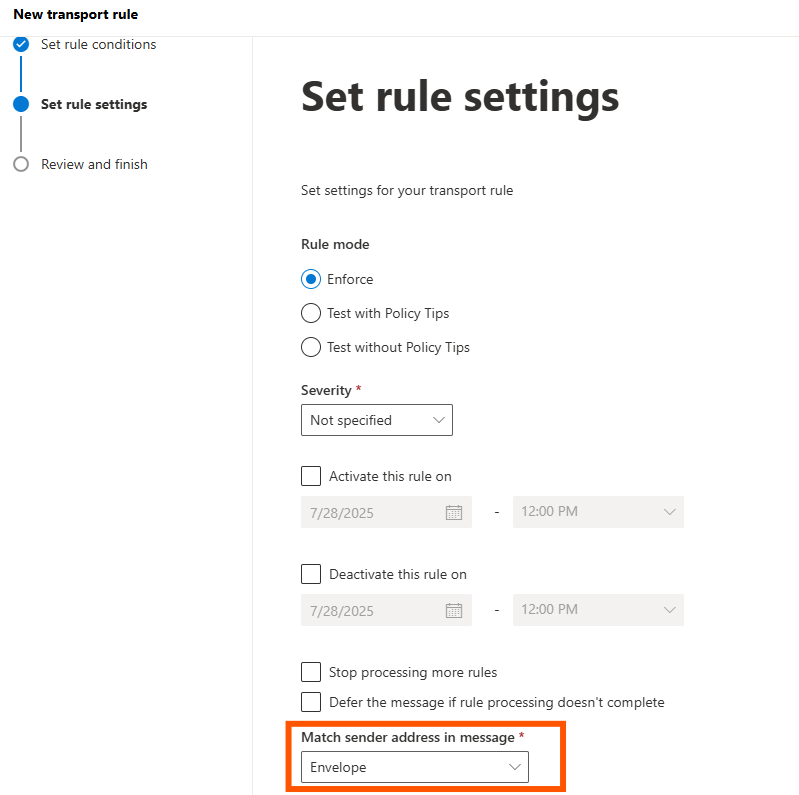
Ensure that the Mail Flow Rule remains Disabled until you have finalised the rest of the setup.
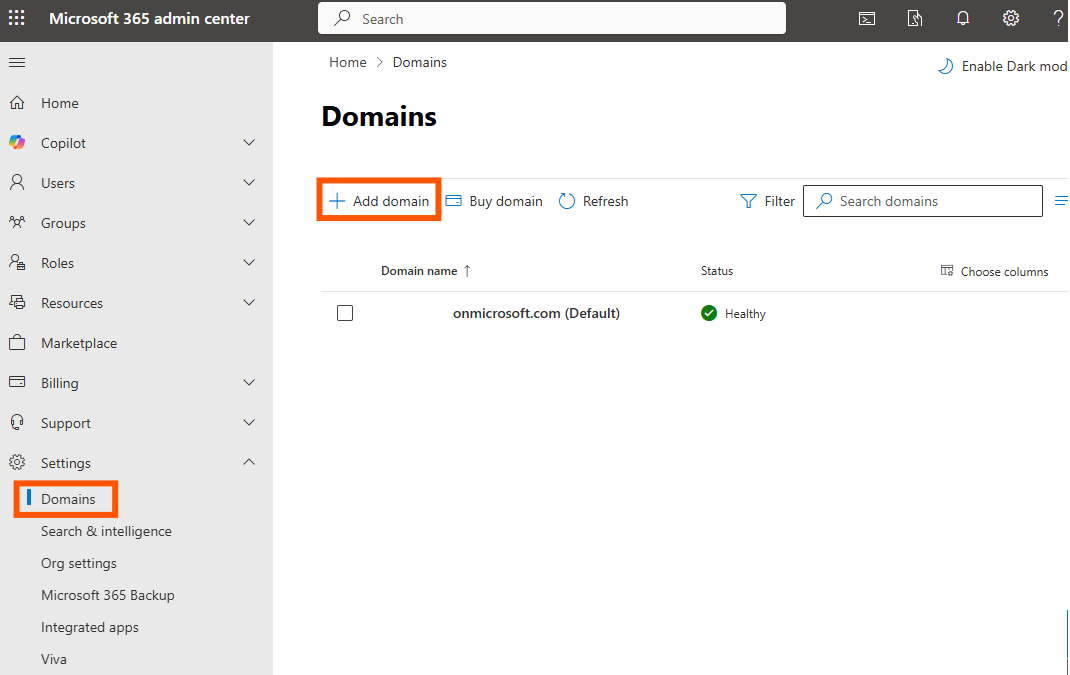
Add the certificate as an accepted domain
-
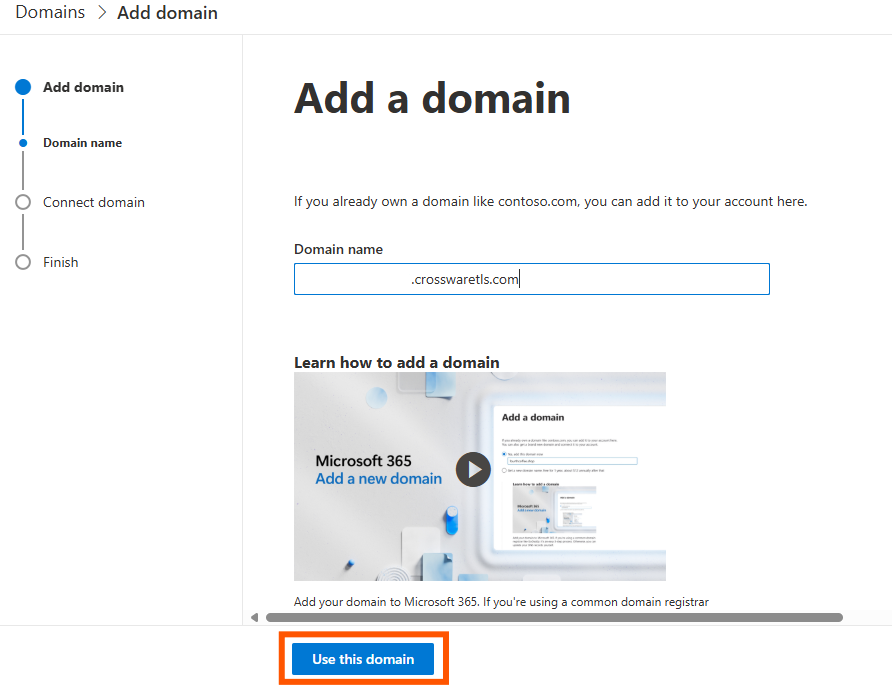
In Microsoft 365 admin center, go to Settings > Domains > + Add Domain.
-
Paste the certificate value generated as the Domain name.
-
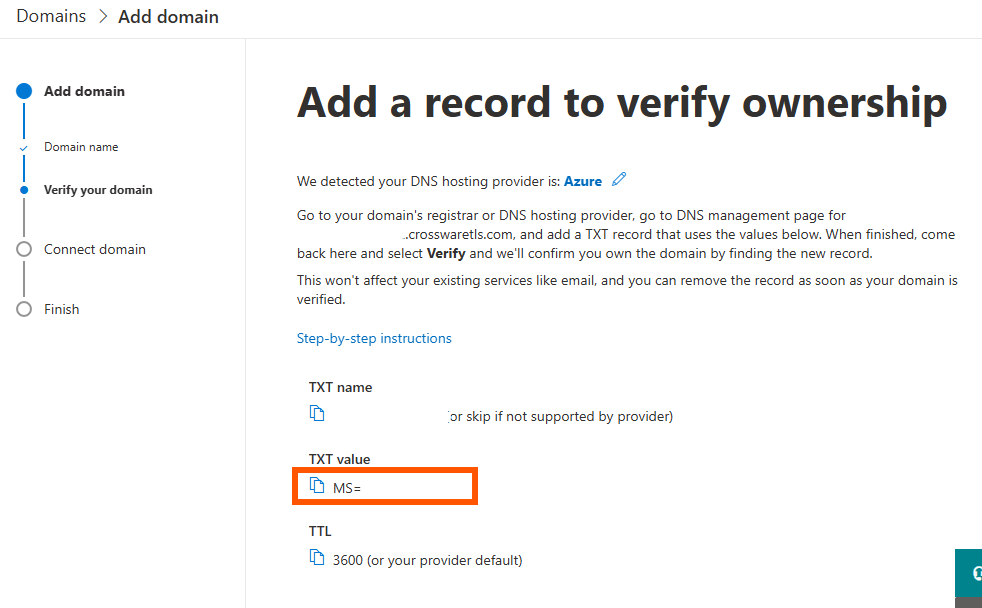
Choose Add a TXT record to the domain's DNS record and click Continue
-
Copy the TXT record value.
-
In the Crossware Portal > Connectors > Update Manually, paste the TXT value and select Add.
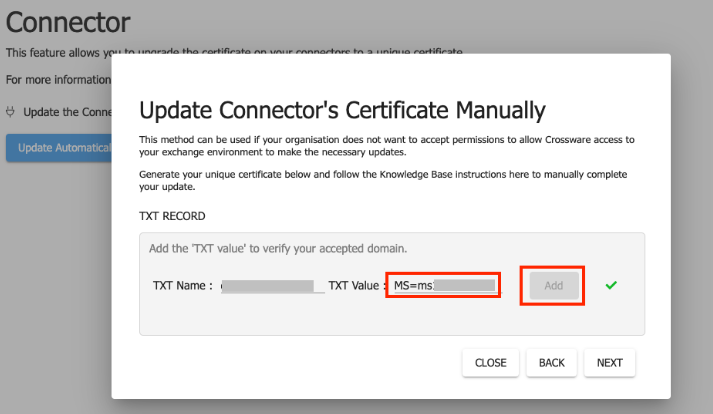
After confirming that the TXT Value has been successfully added, as indicated by the Green Tick, you can proceed to close the dialog box.
-
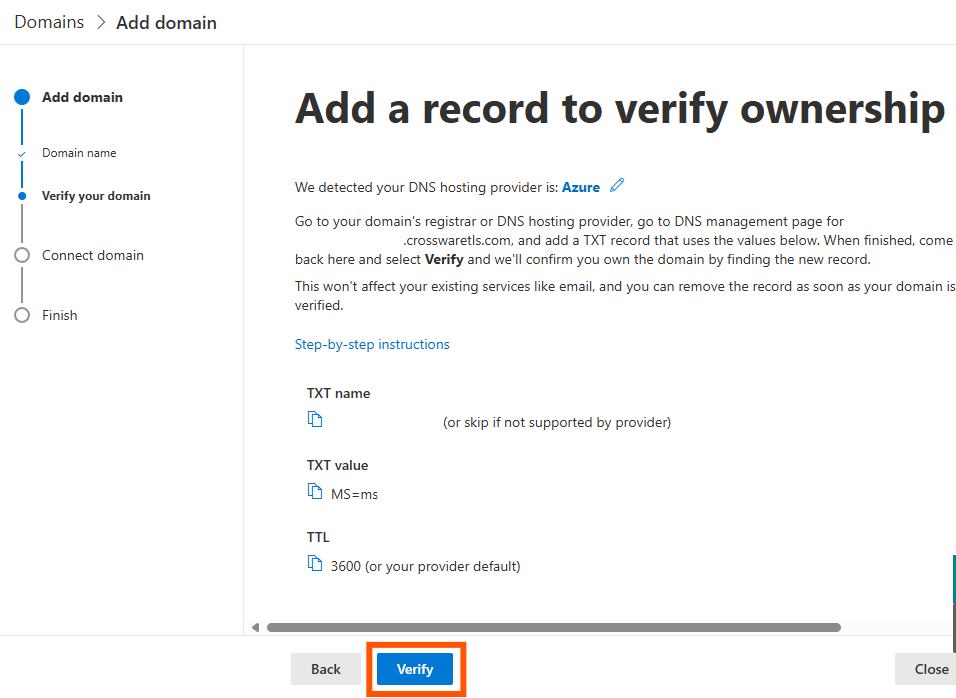
Return to the Microsoft 365 admin center and click Verify.
-
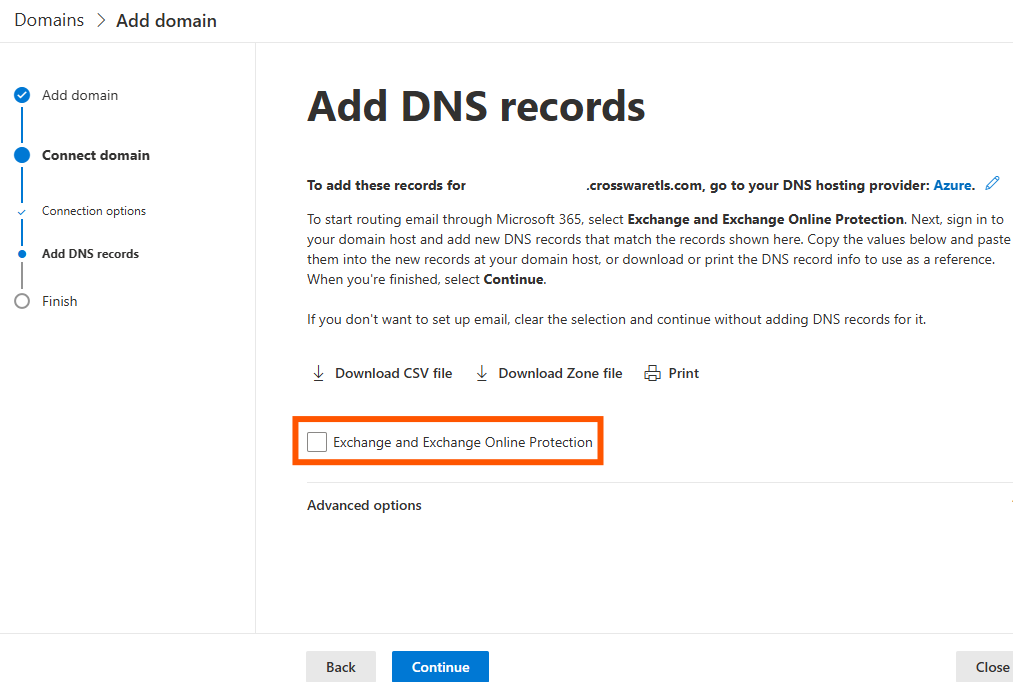
Uncheck Exchange and Exchange Online Protection, then click Continue.
-
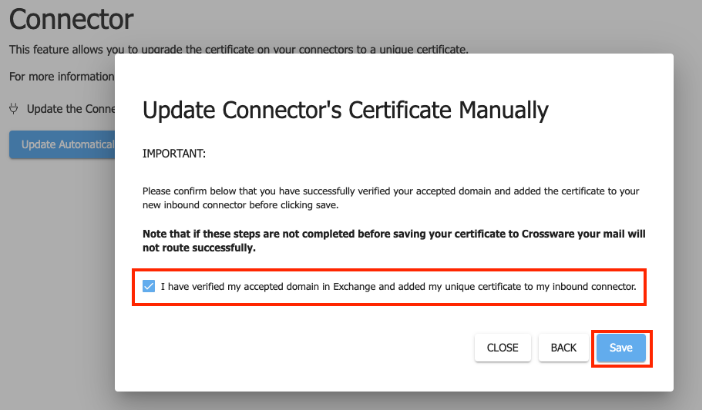
Once you've confirmed that all of the above steps have been completed correctly, you can proceed to save your certificate to Crossware.
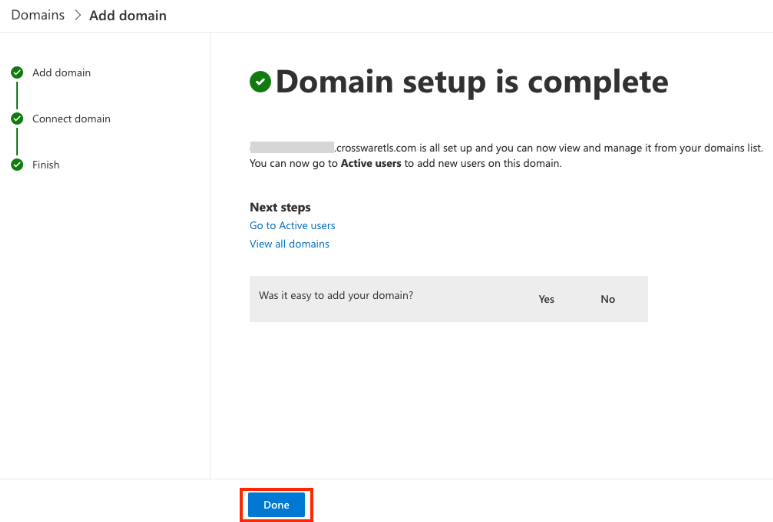
Setup complete
You have now completed the required setup steps.
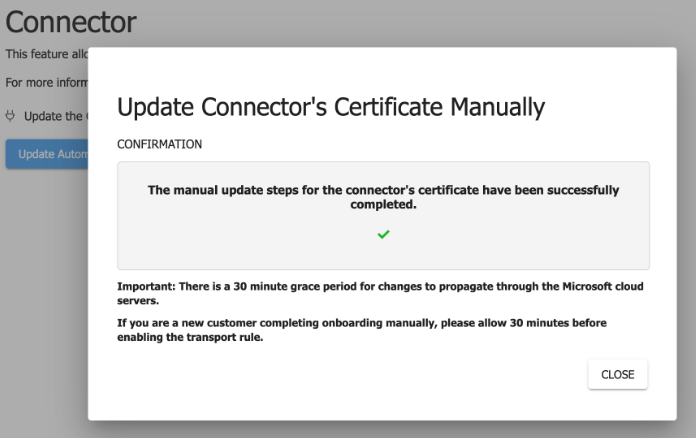
Crossware allows a 30-minute grace period before activating your unique certificate. This gives Microsoft time to complete propagation.
Do not enable your Crossware transport rule until the 30-minute grace period has passed. Mail may not route successfully if the rule is enabled too early.
While you are waiting, you can continue setting up your email signatures in the Crossware Portal.
Common questions and issues