
The Sent Items feature in Crossware Email Signature make sure the signatures applied by Crossware also appear in users’ Sent Items, allowing you to review and see exactly what recipients receive.
Prerequisites
-
Crossware Email Signature must already be set up in your Microsoft 365 tenant.
-
You must be logged into the Crossware Portal with Global Admin rights for your Microsoft 365 tenant.
-
Access to the Azure portal (Microsoft Entra ID) to grant necessary permissions.
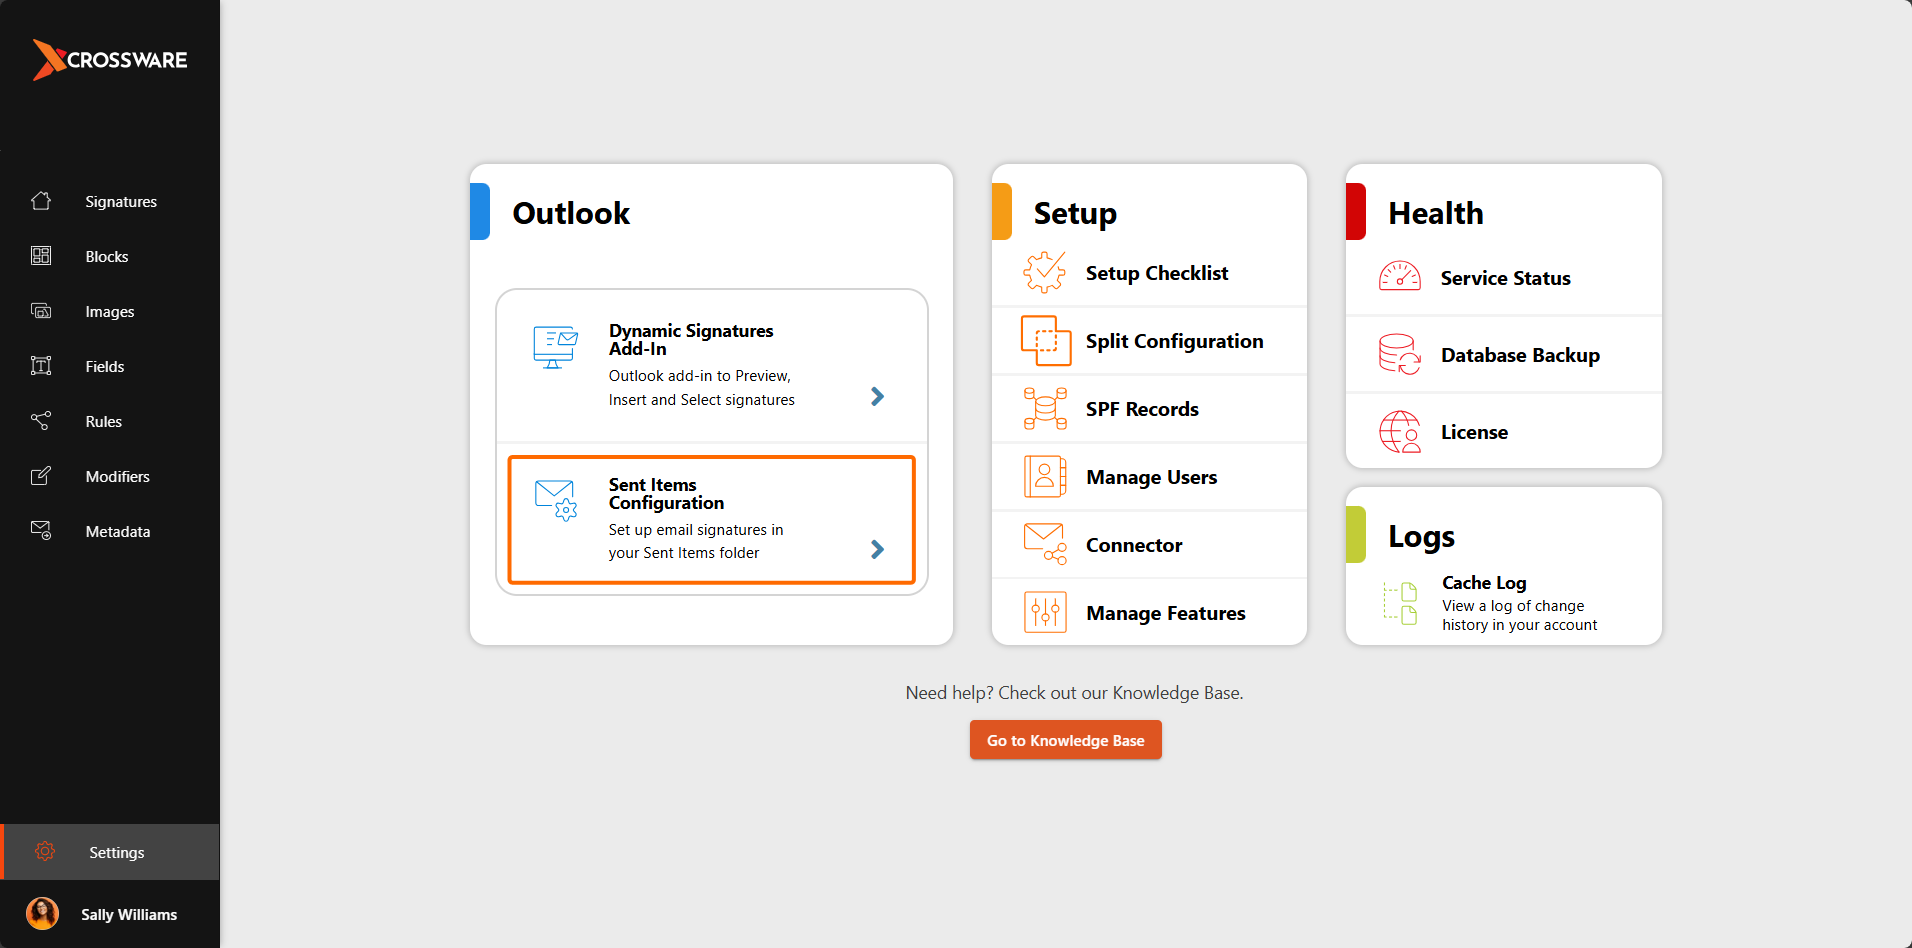
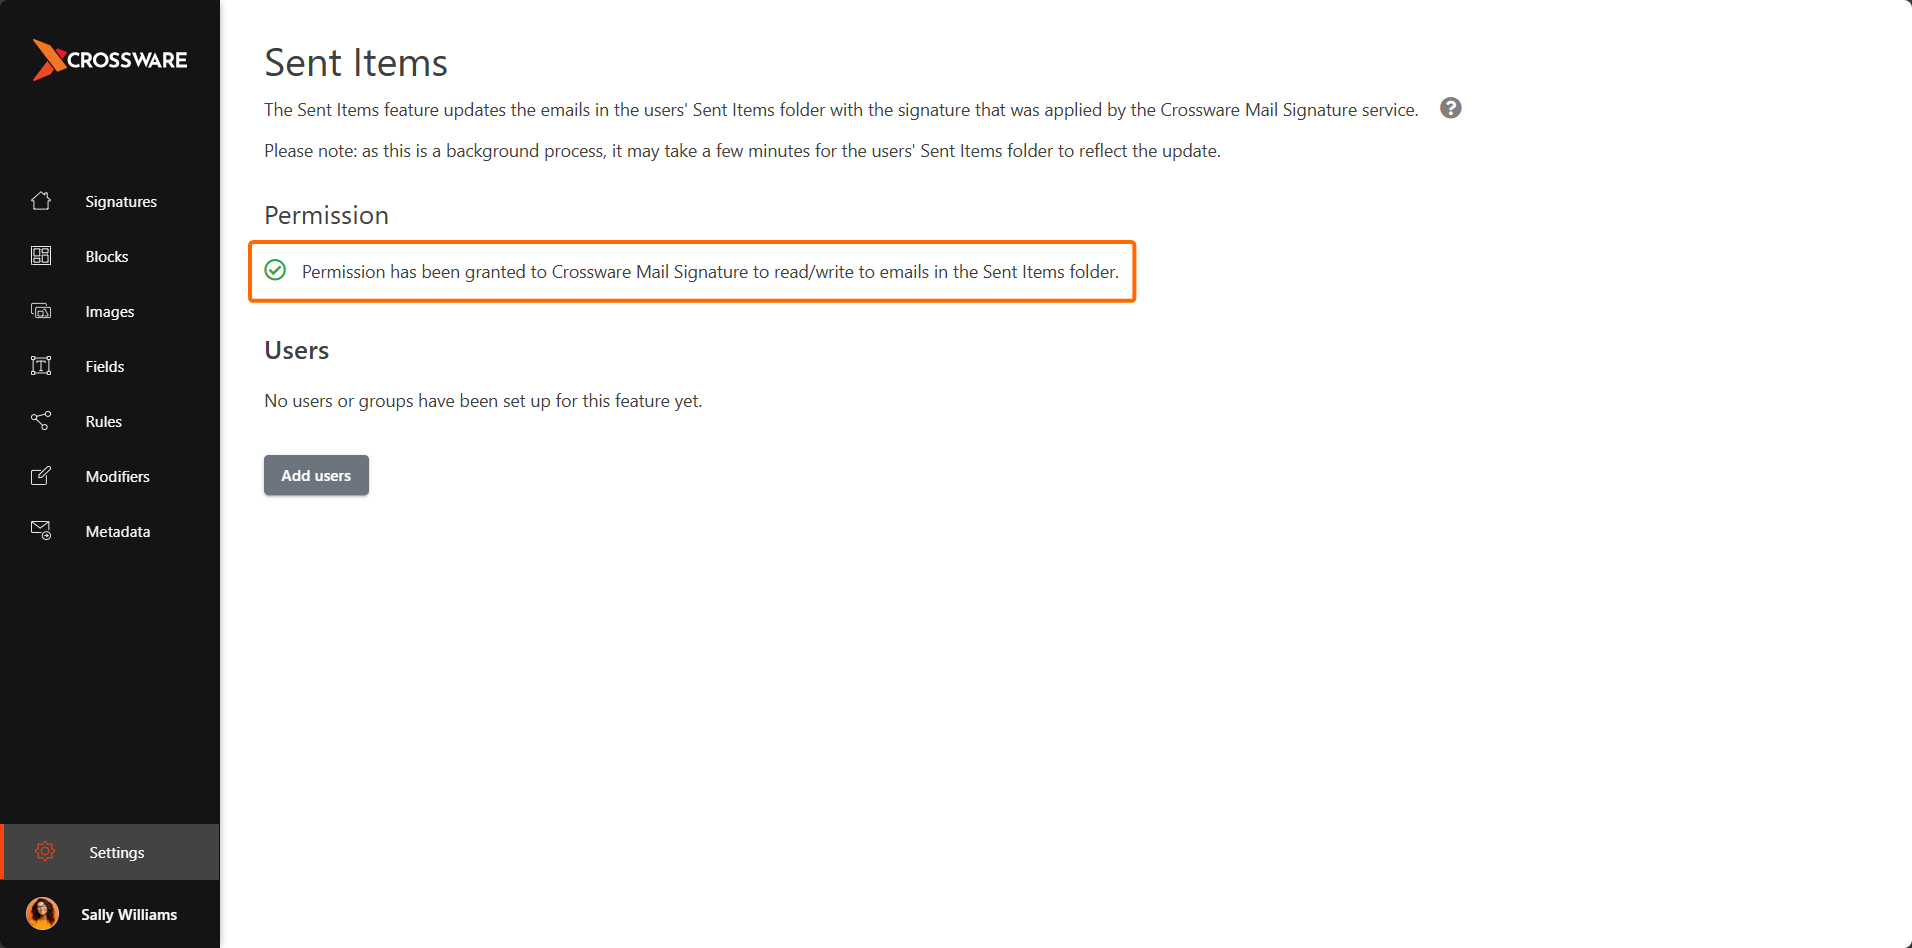
Activate the Sent Items Feature
-
Go to Crossware Portal and log in as a Global Admin.
-
Navigate to Settings > Sent Items Configuration.
-
Click Set up Sent Items.
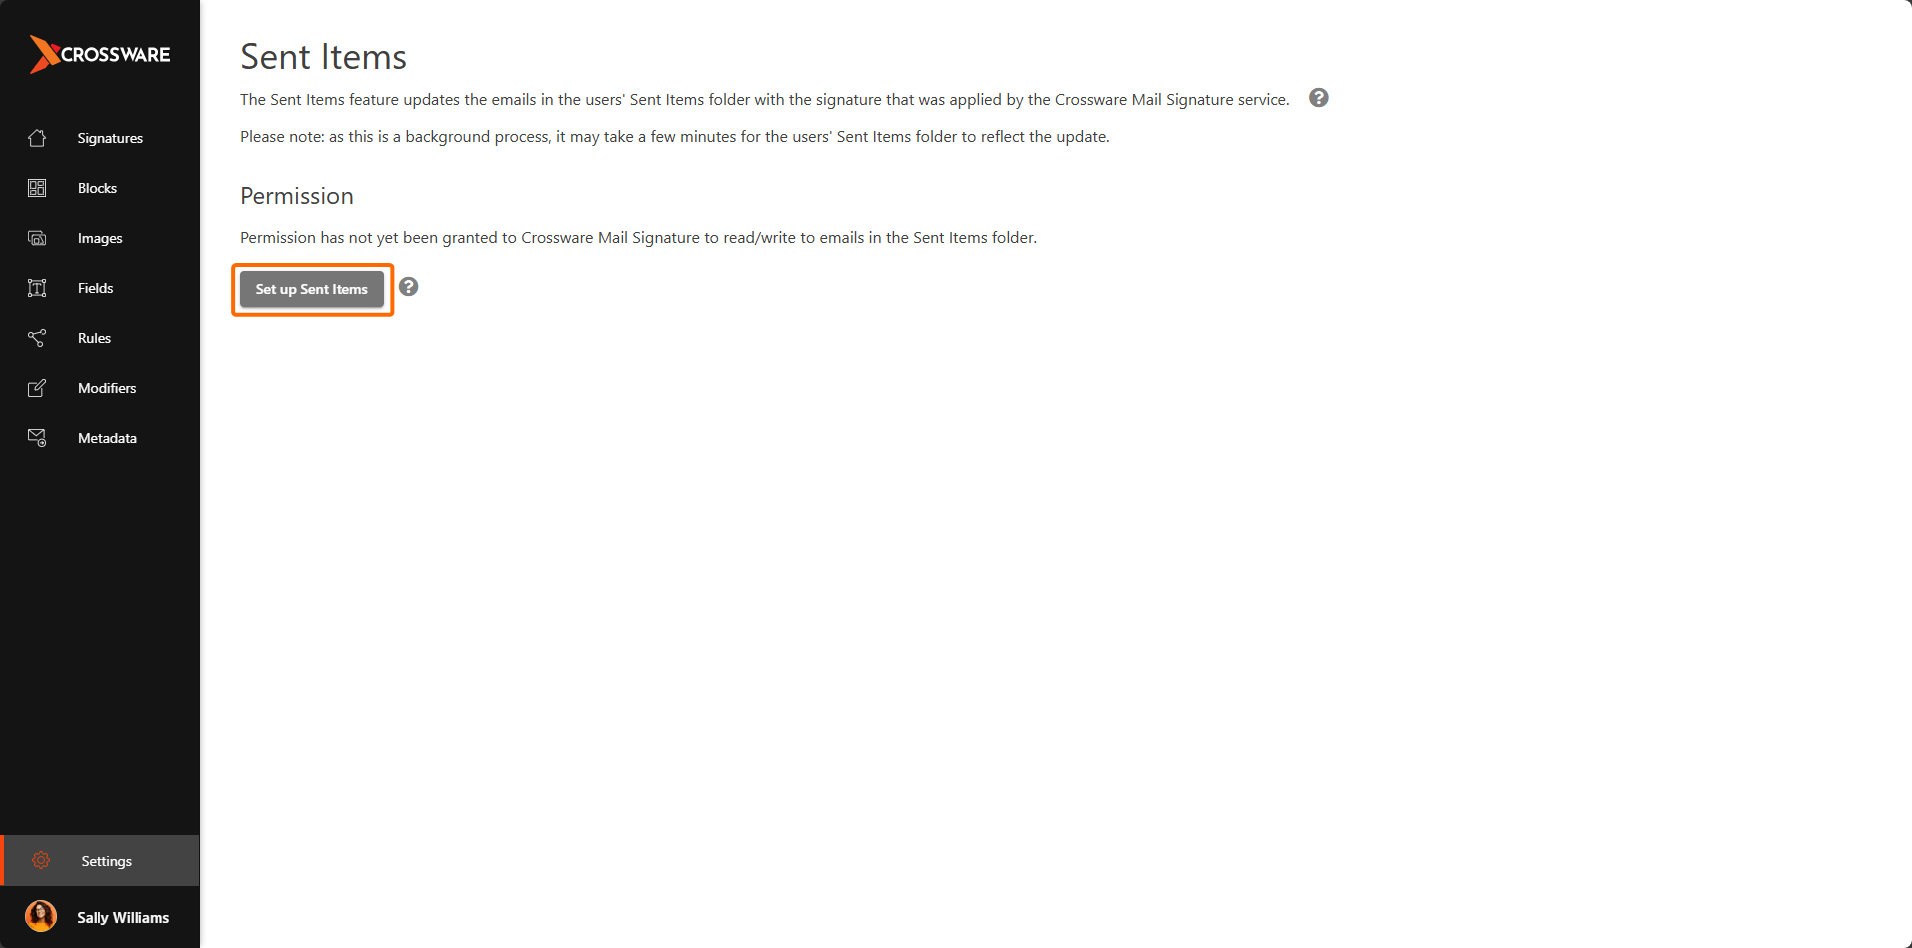
If you don’t see the permissions dialog, permissions have already been granted by someone else in your organisation.
-
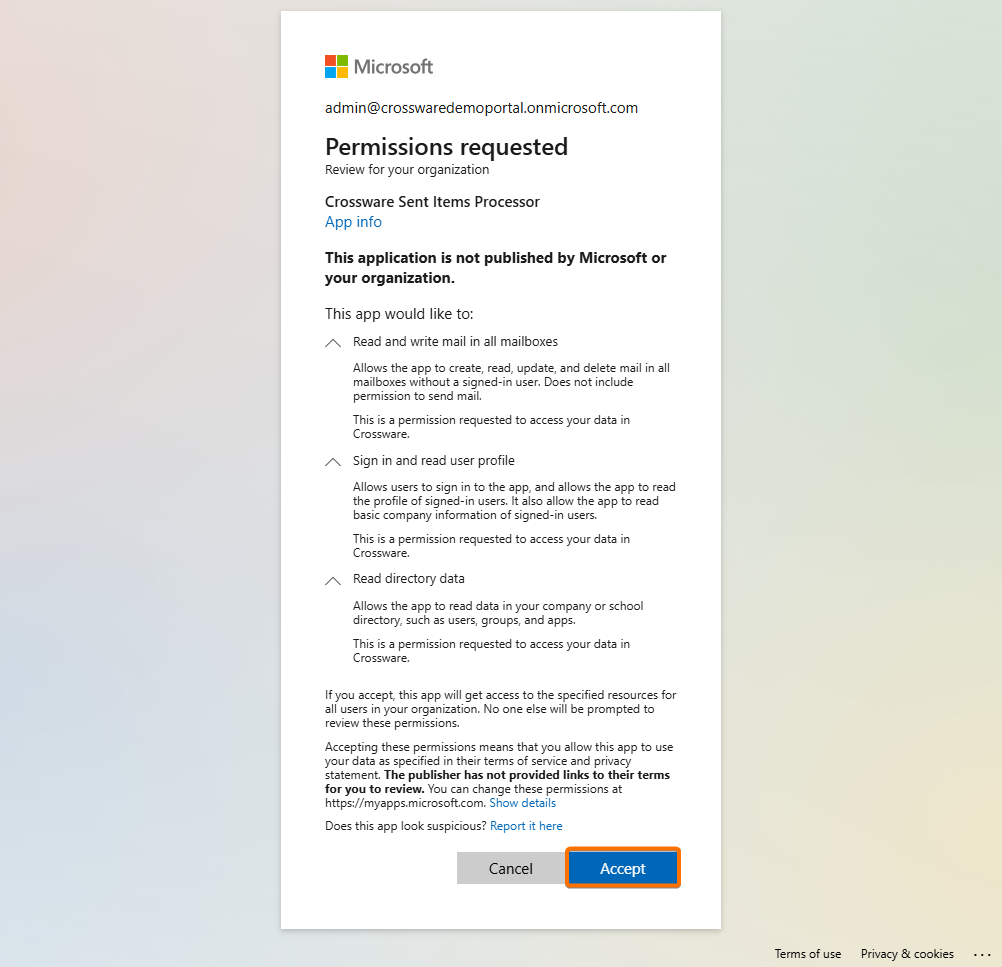
Sign in to Microsoft 365 with Global Administrator credentials to grant consent for the required permissions: Read and write mail in all mailboxes and Sign in and read user profile.
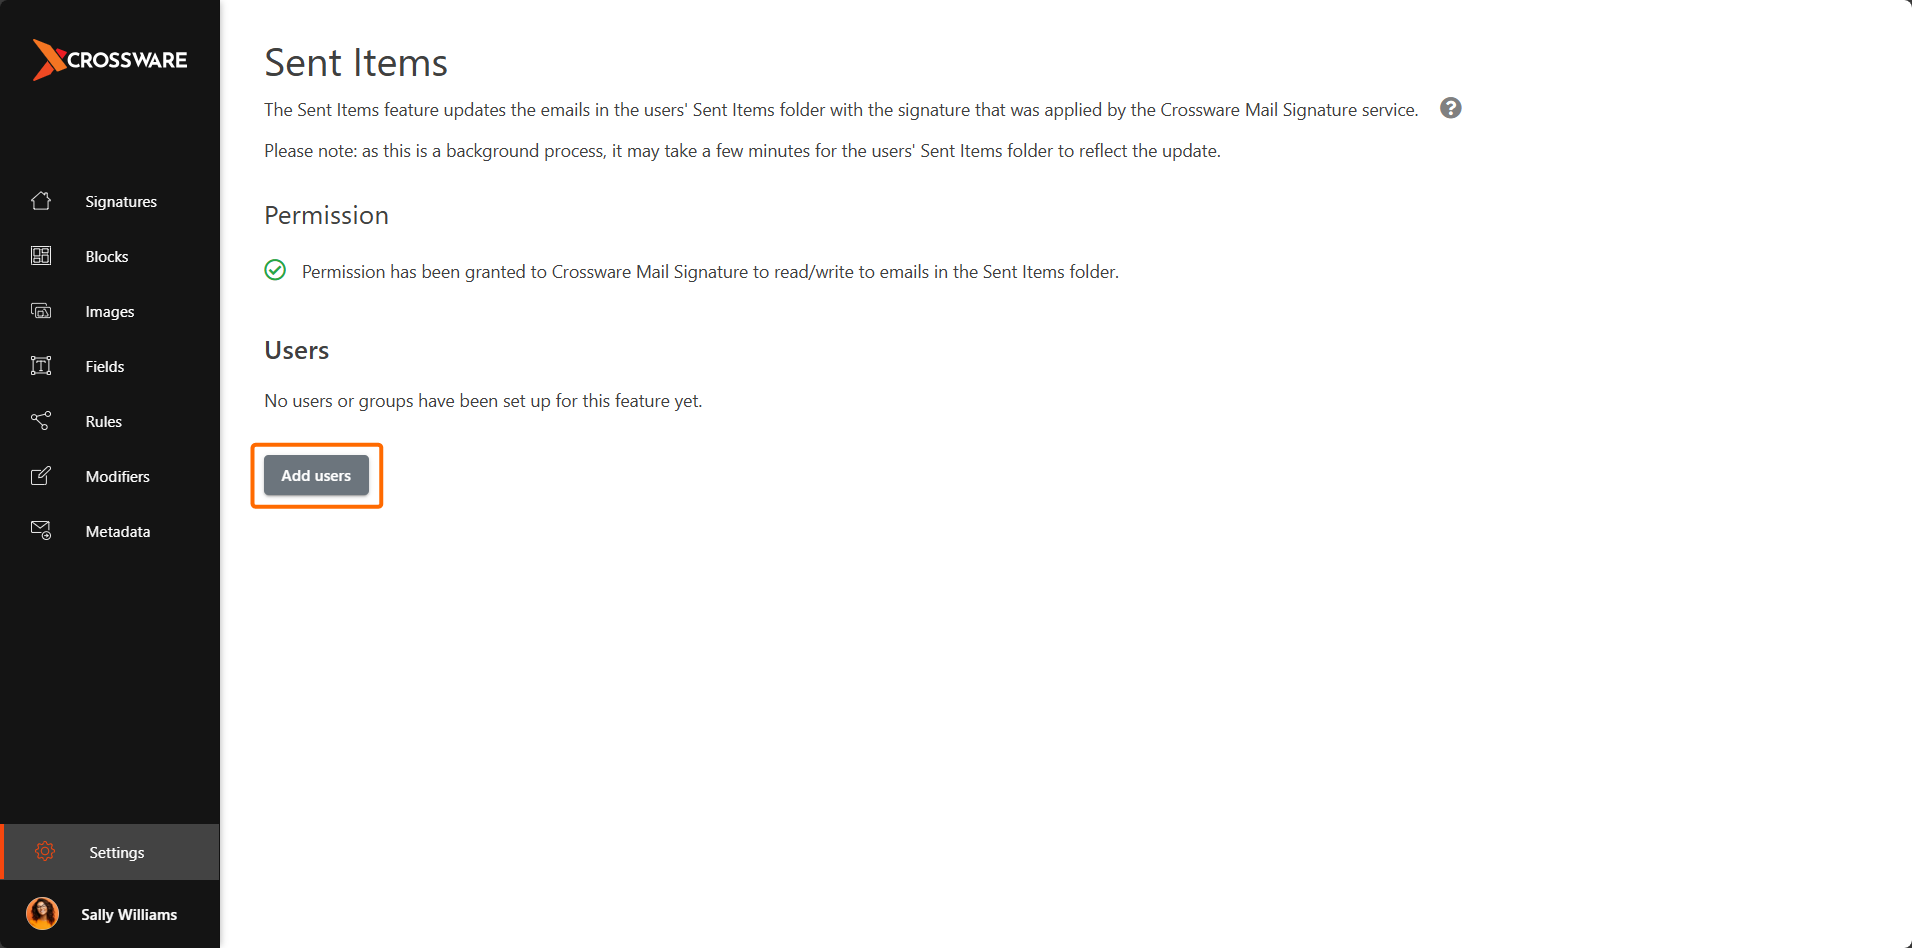
Assign Users and Groups
-
In the Sent Items Configuration page, click Add users.
-
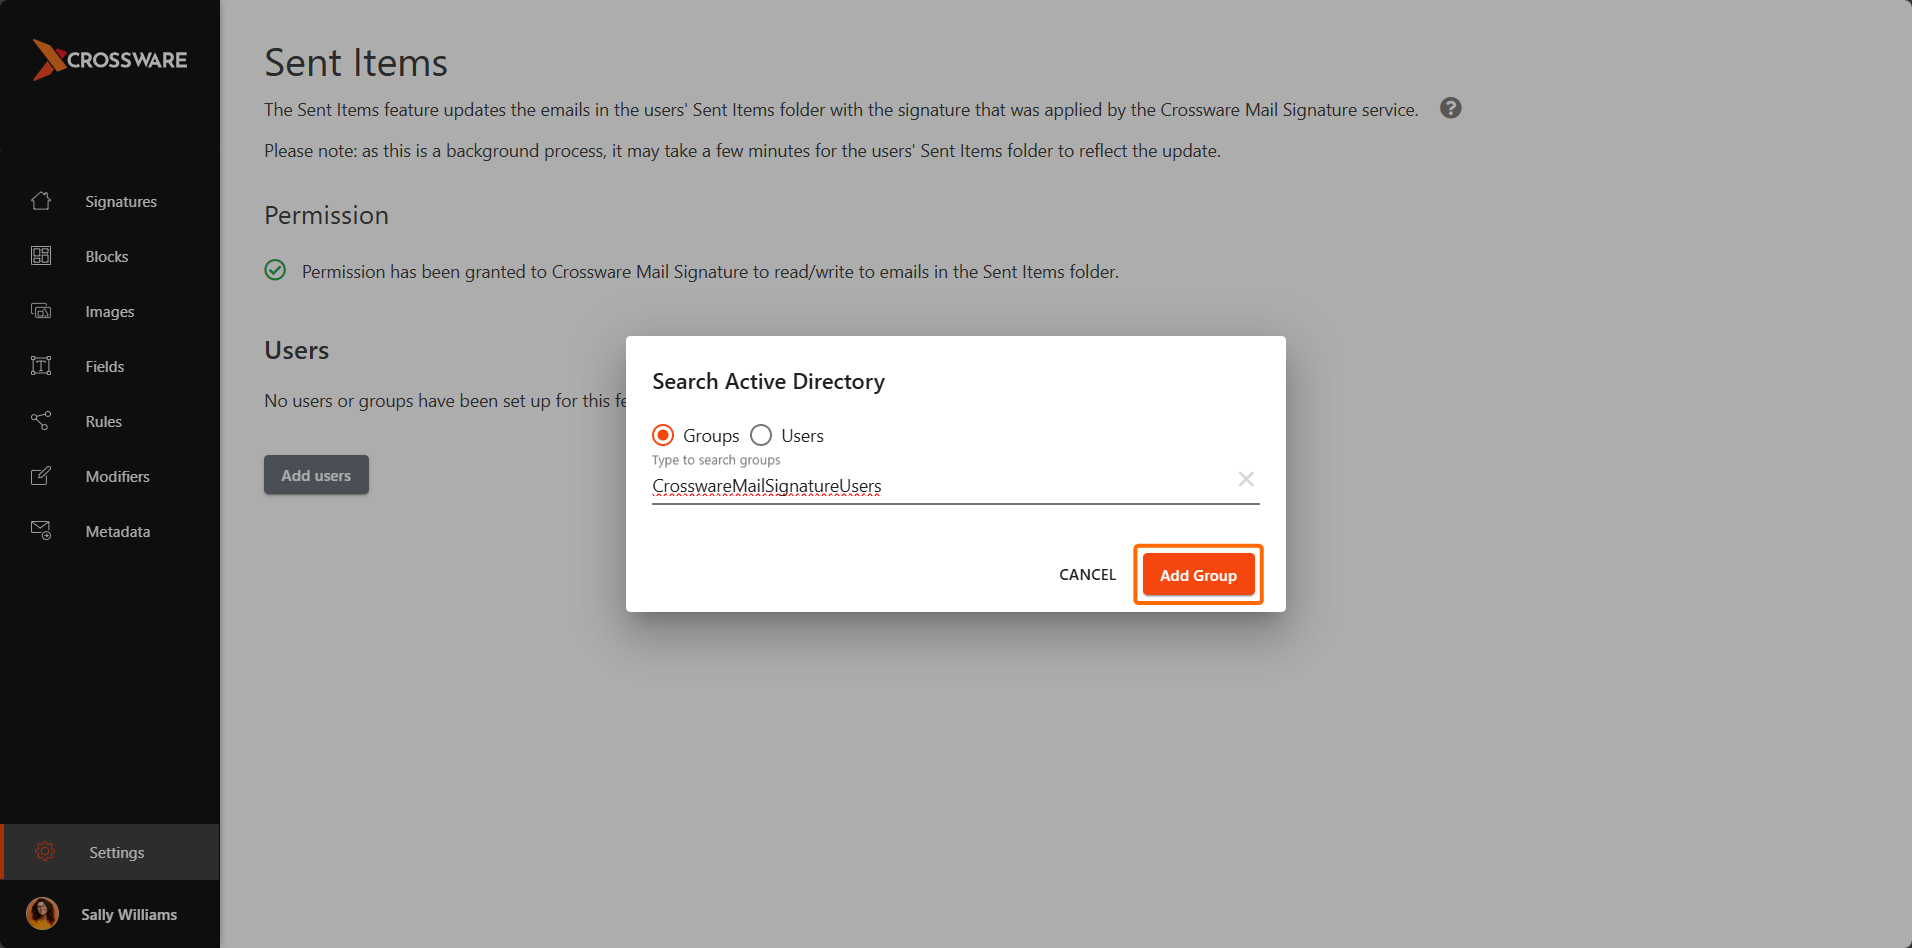
Choose Groups or Users.
-
To enable the feature for the selected account(s), first search for and select the user(s) or group(s) from your Azure Active Directory. Then, click on Add Group/Add User.
-
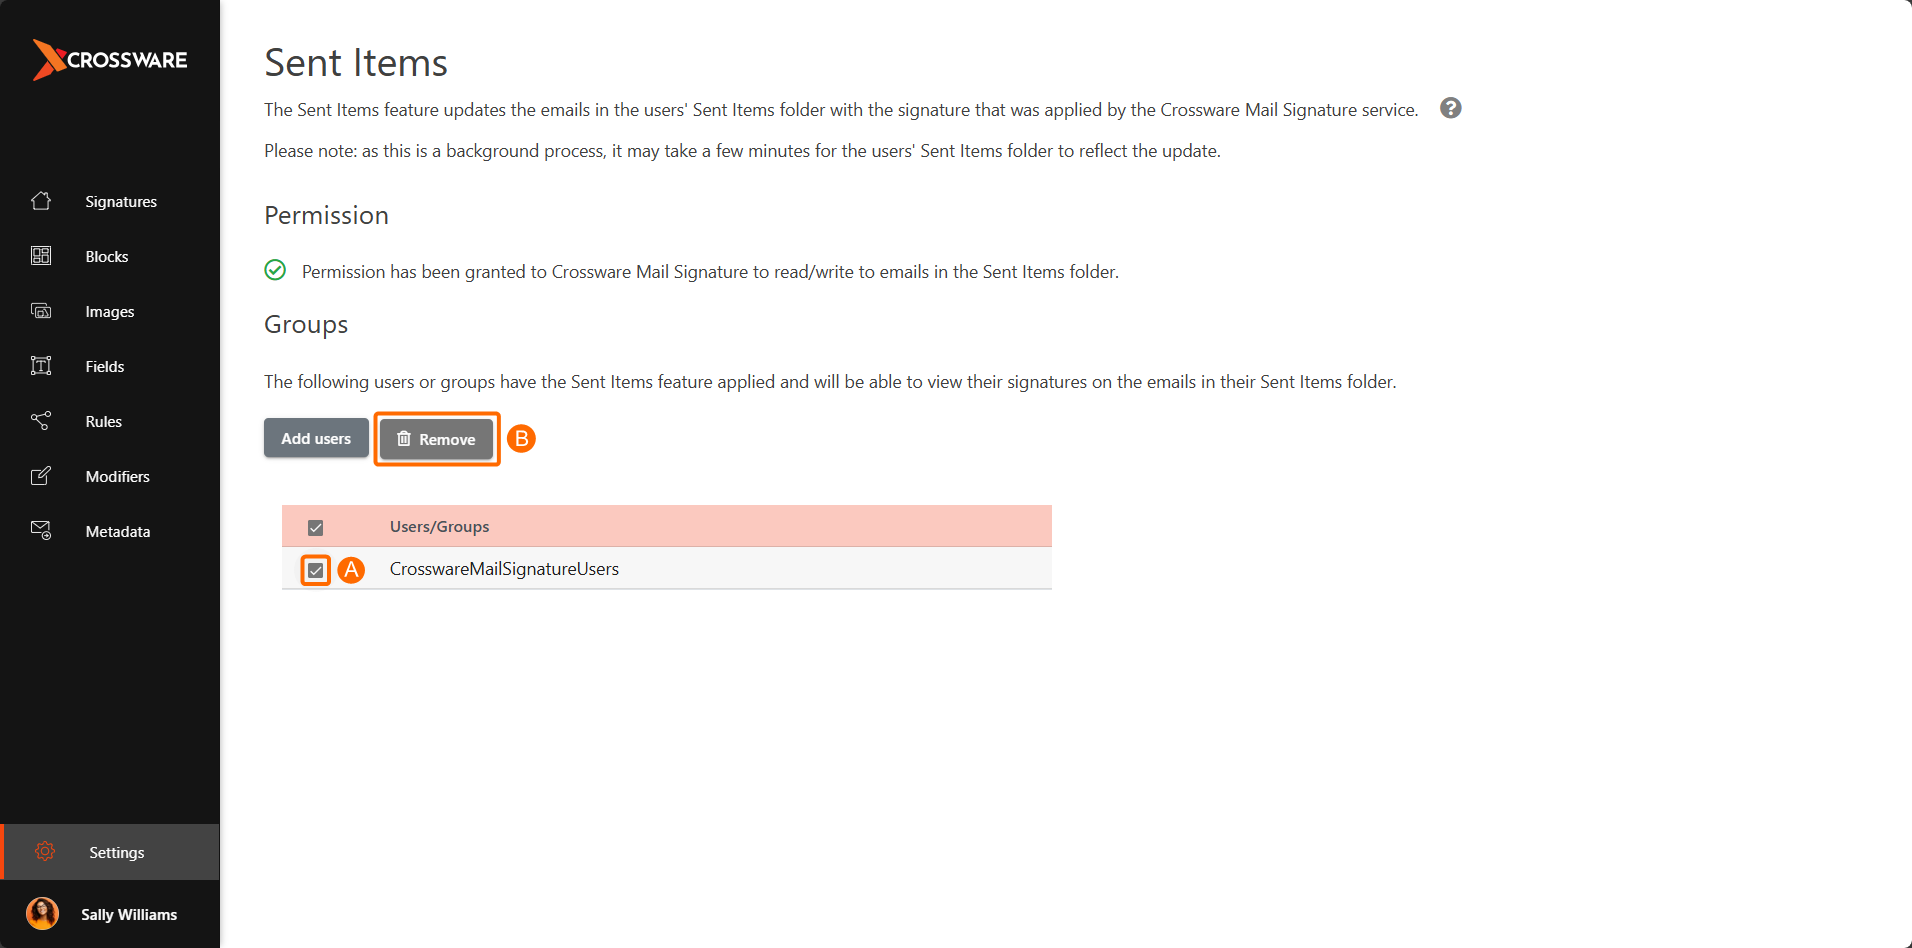
Close the dialog. The list of assigned users/groups will refresh.
-
To remove users/groups, tick the checkbox next to their name and click Remove.
The Sent Items feature is now set up. The selected users will see the correct Crossware signatures in their Sent Items folder, just as their recipients see them.